
Overview
You will learn
- How MDK editor parses OData Annotations for a given OData service
- How to create a fully functional cross-platform application


Prerequisites
Prerequisites
- Tutorial group: Set Up for the Mobile Development Kit (MDK)
- Install SAP Mobile Services Client on your Android device or iOS
 Android |  iOS |
(If you are connecting to AliCloud accounts, you will need to brand your custom MDK client by allowing custom domains.)
Steps
Intro
You may clone an existing metadata project from the MDK Tutorial GitHub repository and start directly with step 5 in this tutorial but make sure you complete step 2.
Mobile development kit brings OData annotations capabilities to your cross-platform applications. MDK editor supports generating List-Detail pages based on annotations. List-Detail pages are similar to a Master-Detail page, but it is two pages instead of one. The MDK editor parses existing annotations to give you a huge leap forward in your cross-platform applications.
SAP Fiori Elements is a framework comprising of templates for commonly used application patterns, for example List Report, Worklist, Object Page, Overview Page and Analytical list page. Predefined templates combined with OData service and annotations generates SAP Fiori application at startup.
Sample backend in SAP Mobile Services provides annotation functionality for Products.
In SAP MDK Demo App configuration, click
Sample OData ESPM.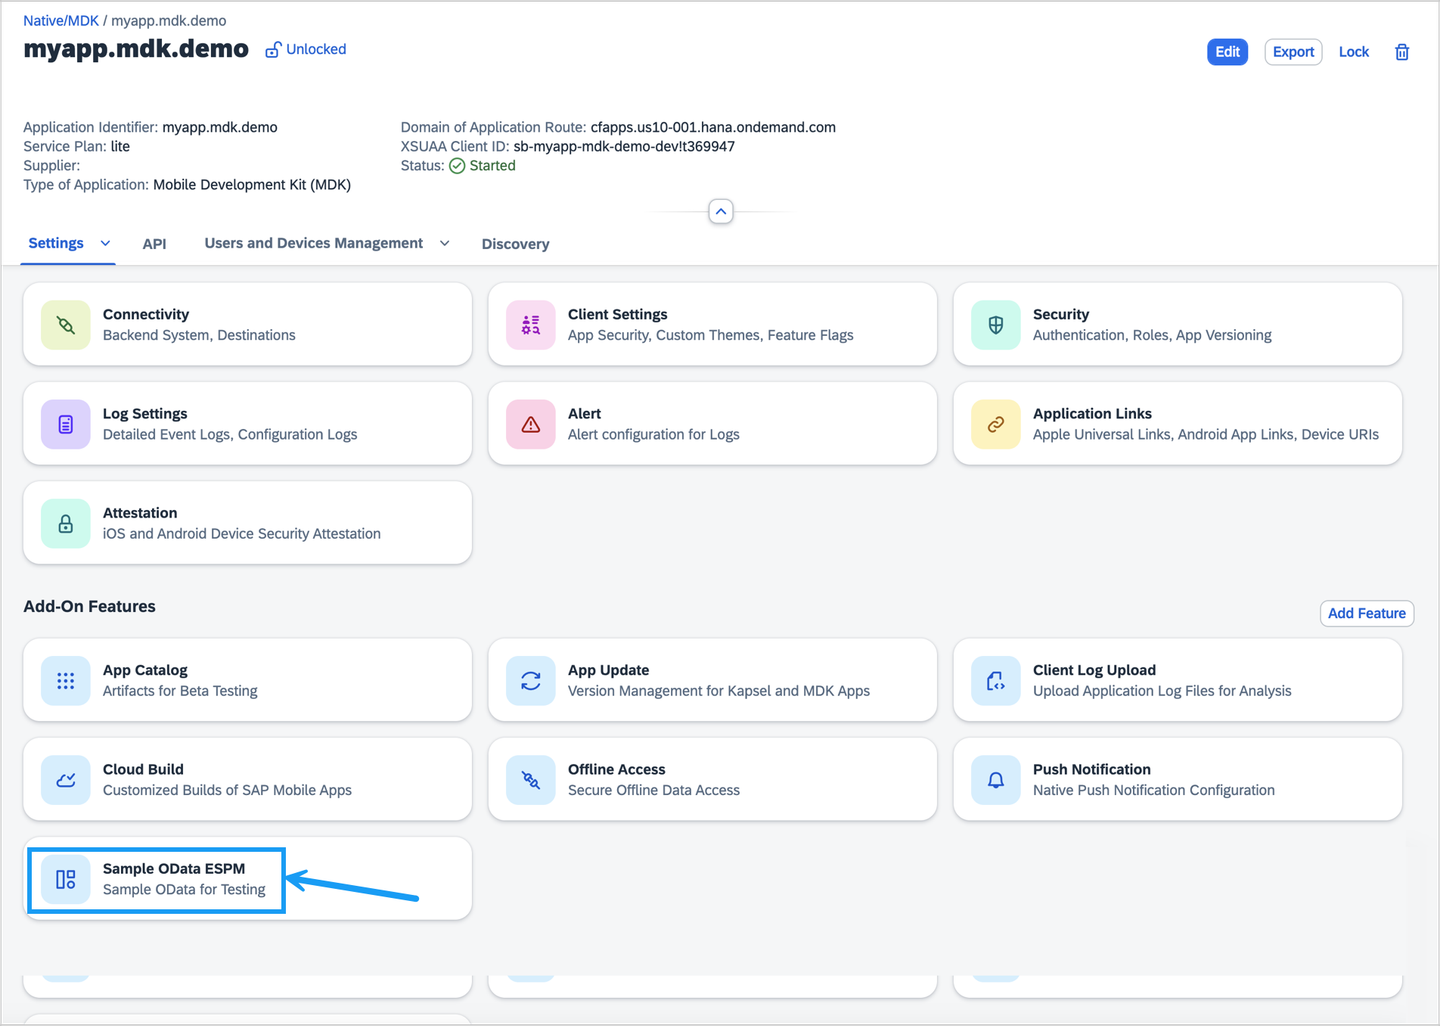
SAP MDK Demo App Sample OData ESPM Select Include Predefined Annotations option and click Save. This will add Product annotation to the sample backend destination.
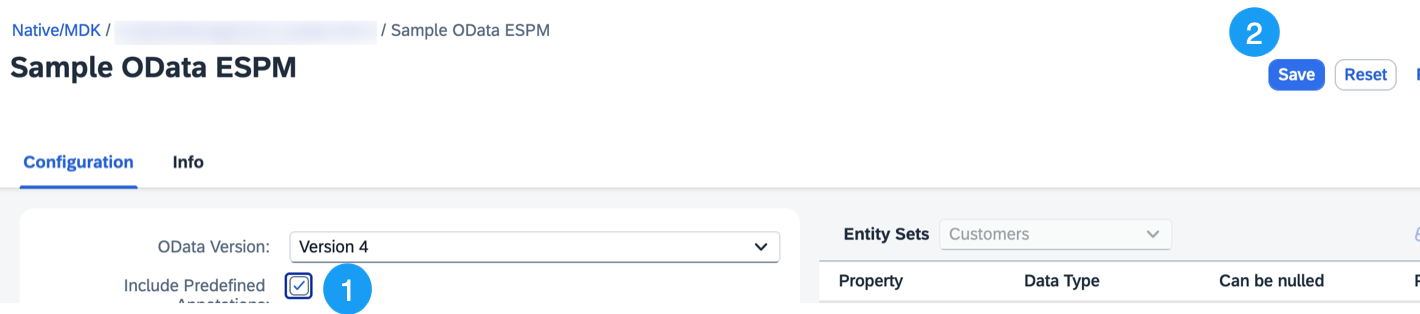
Include Predefined Annotations Option Selected
This step includes creating a mobile project in SAP Build Lobby.
In the SAP Build Lobby, click Create > Create to start the creation process.
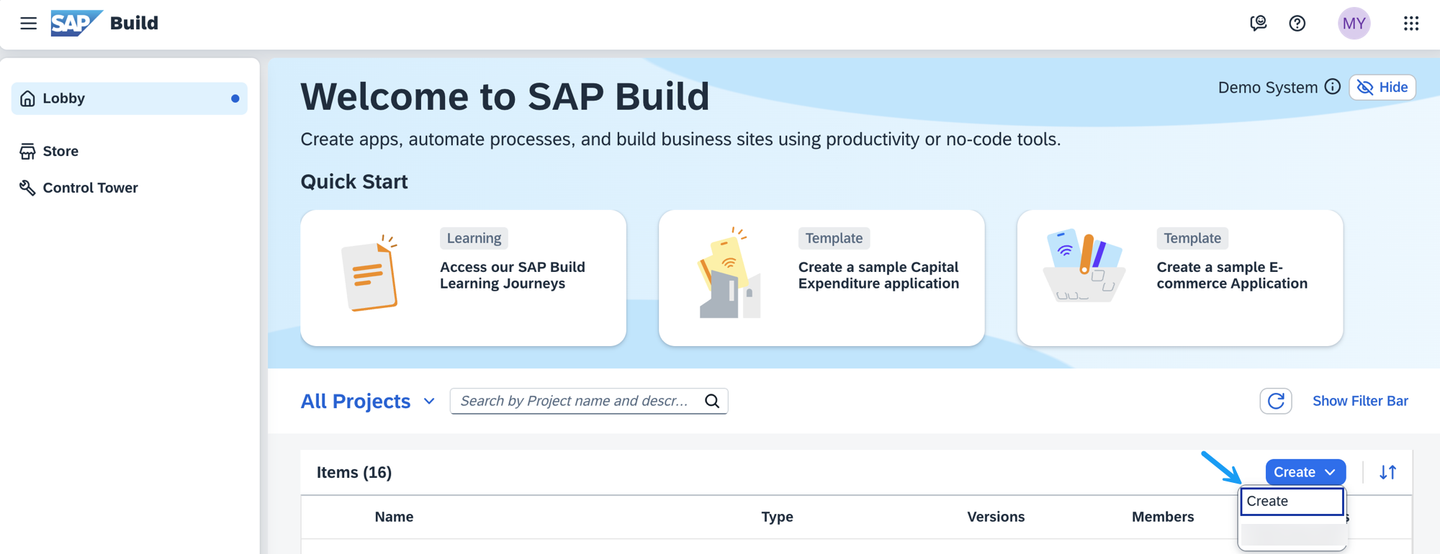
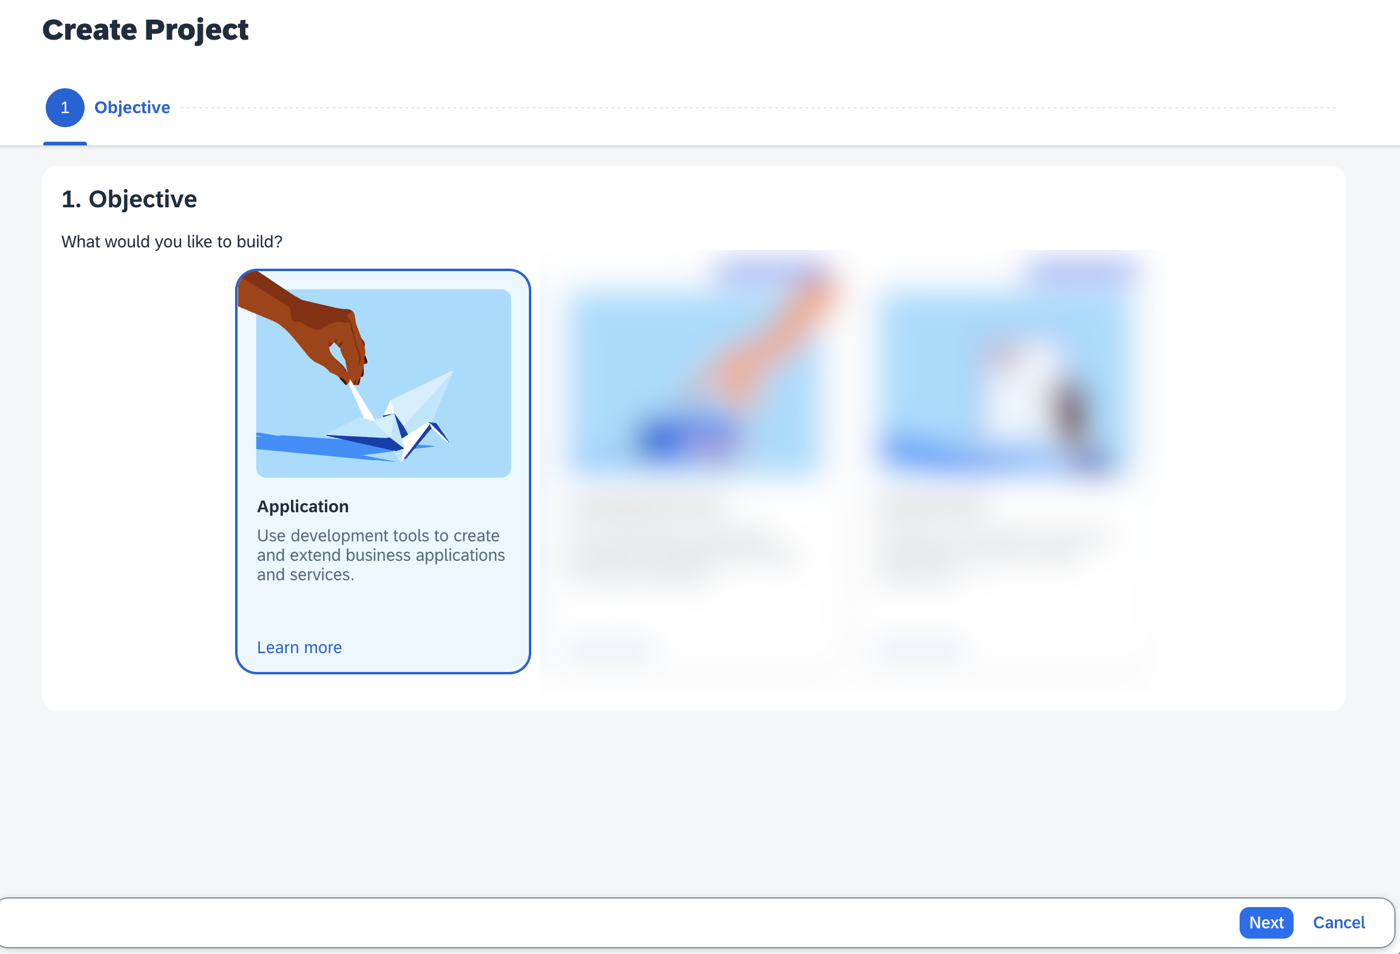
SAP Build Lobby Create Button Click the Application tile and choose Next.
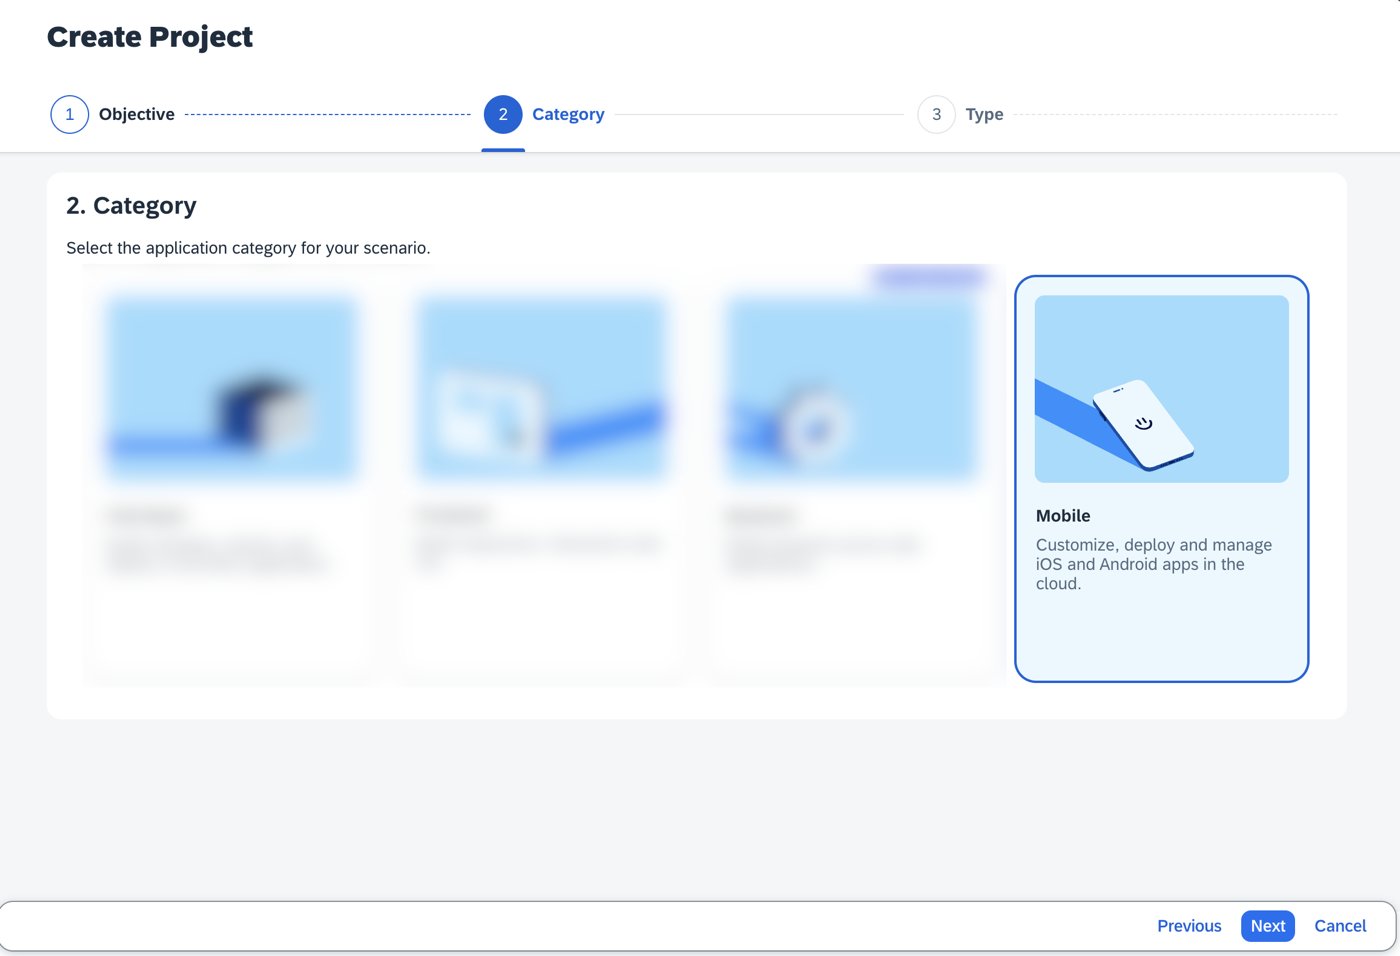
Application Tile Selection Select the Mobile category and choose Next.
Mobile Category Options Select the Mobile Application to develop your mobile project in SAP Business Application Studio and choose Next.
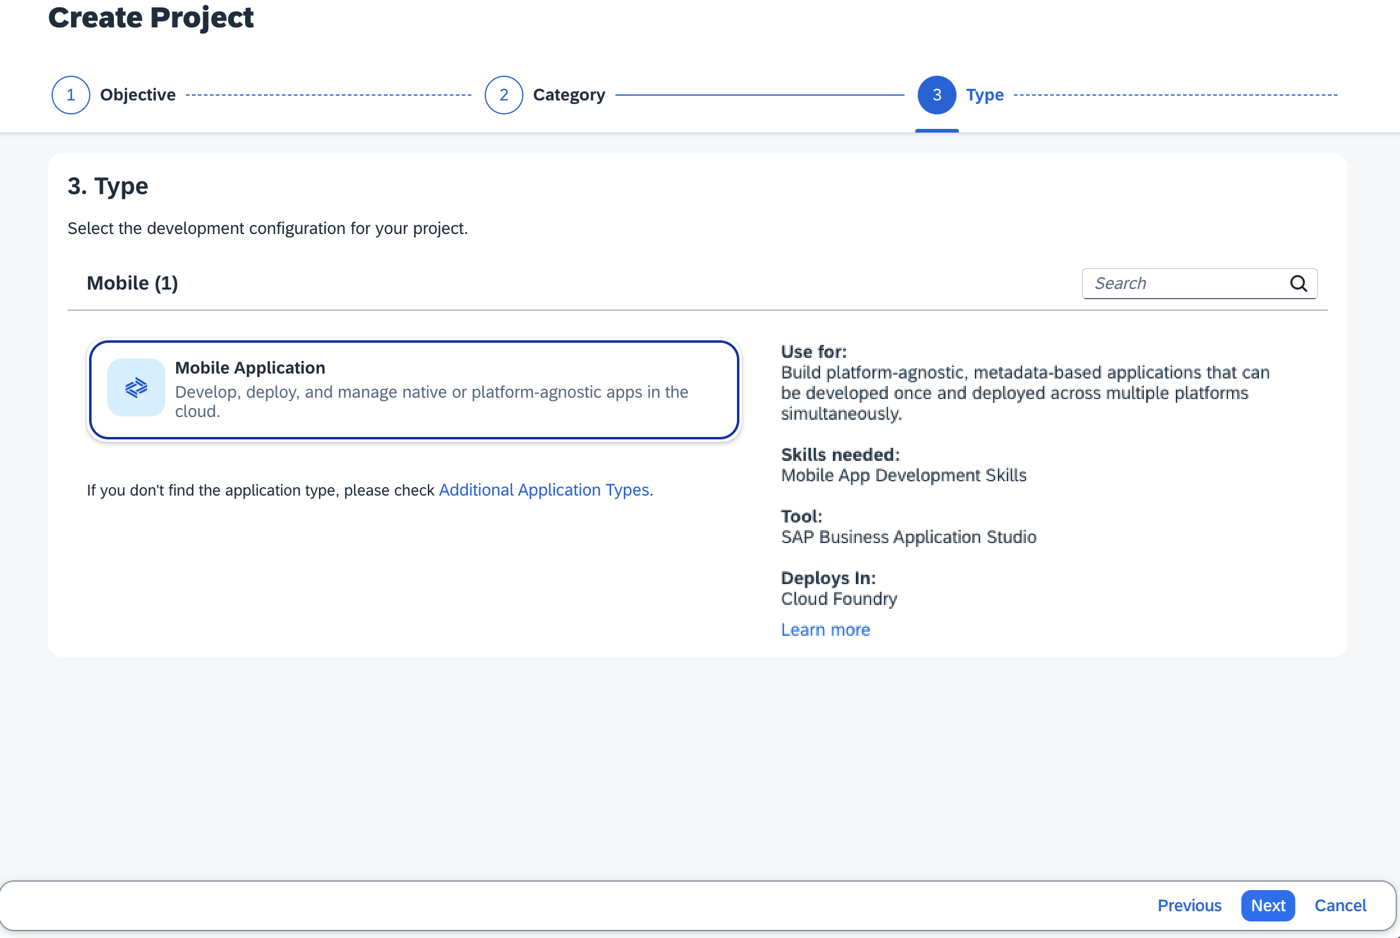
Mobile Application Option Selection Enter the project name
mdk_annotations(used for this tutorial) , add a description (optional), and click Review.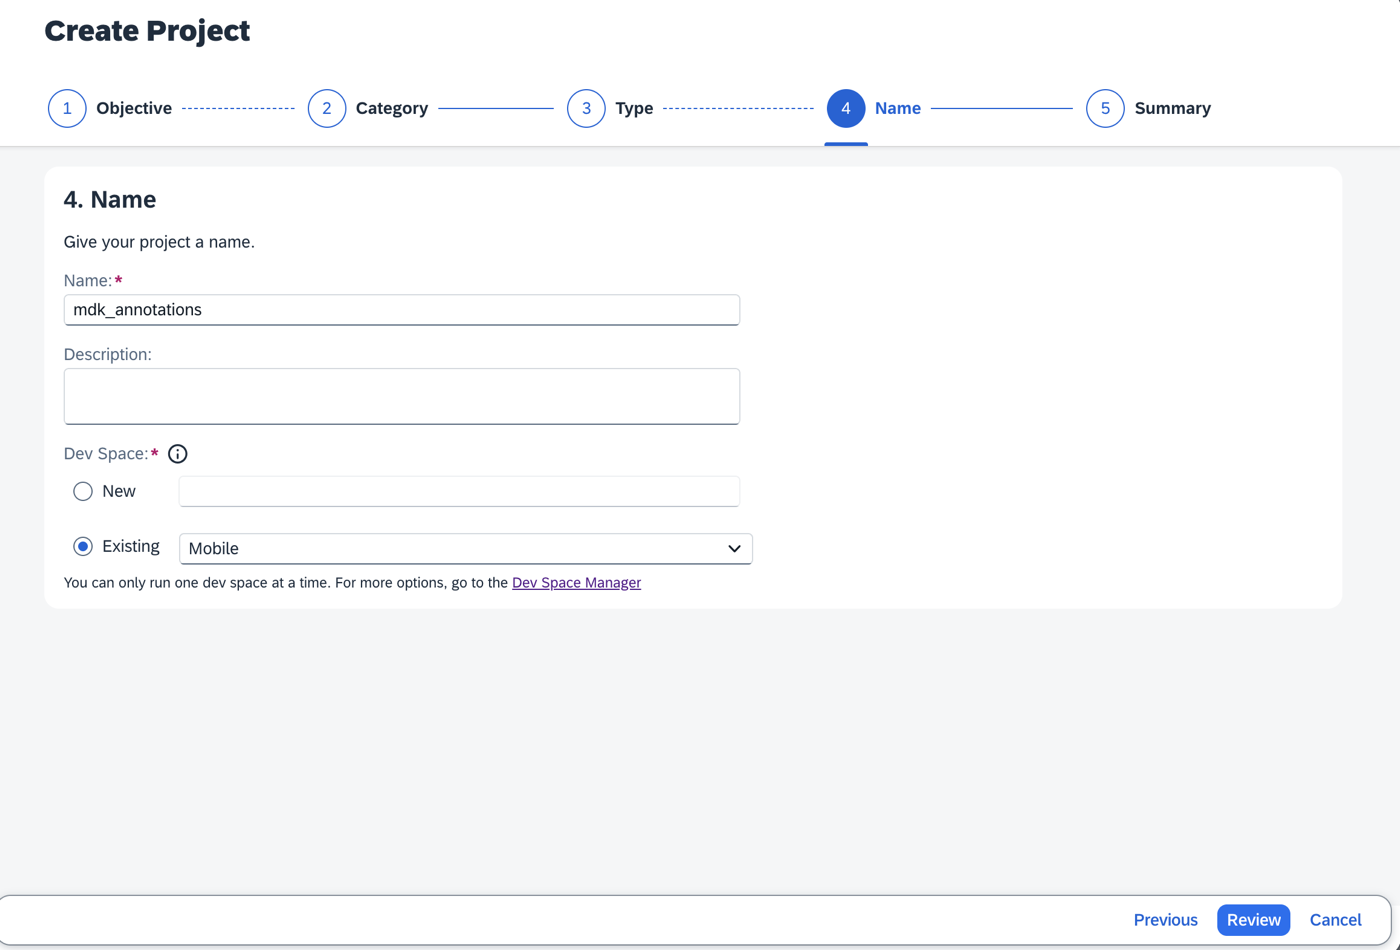
Project Name Entry Review Screen SAP Build recommends the dev space it deems most suitable, and it will automatically create a new one for you if you don’t already have one. If you have other dev spaces of the Mobile Application type, you can select between them. If you want to create a different dev space, go to the Dev Space Manager. See Working in the Dev Space Manager.
Review the inputs under the Summary tab. If everything looks correct, click Create to proceed with creating your project.
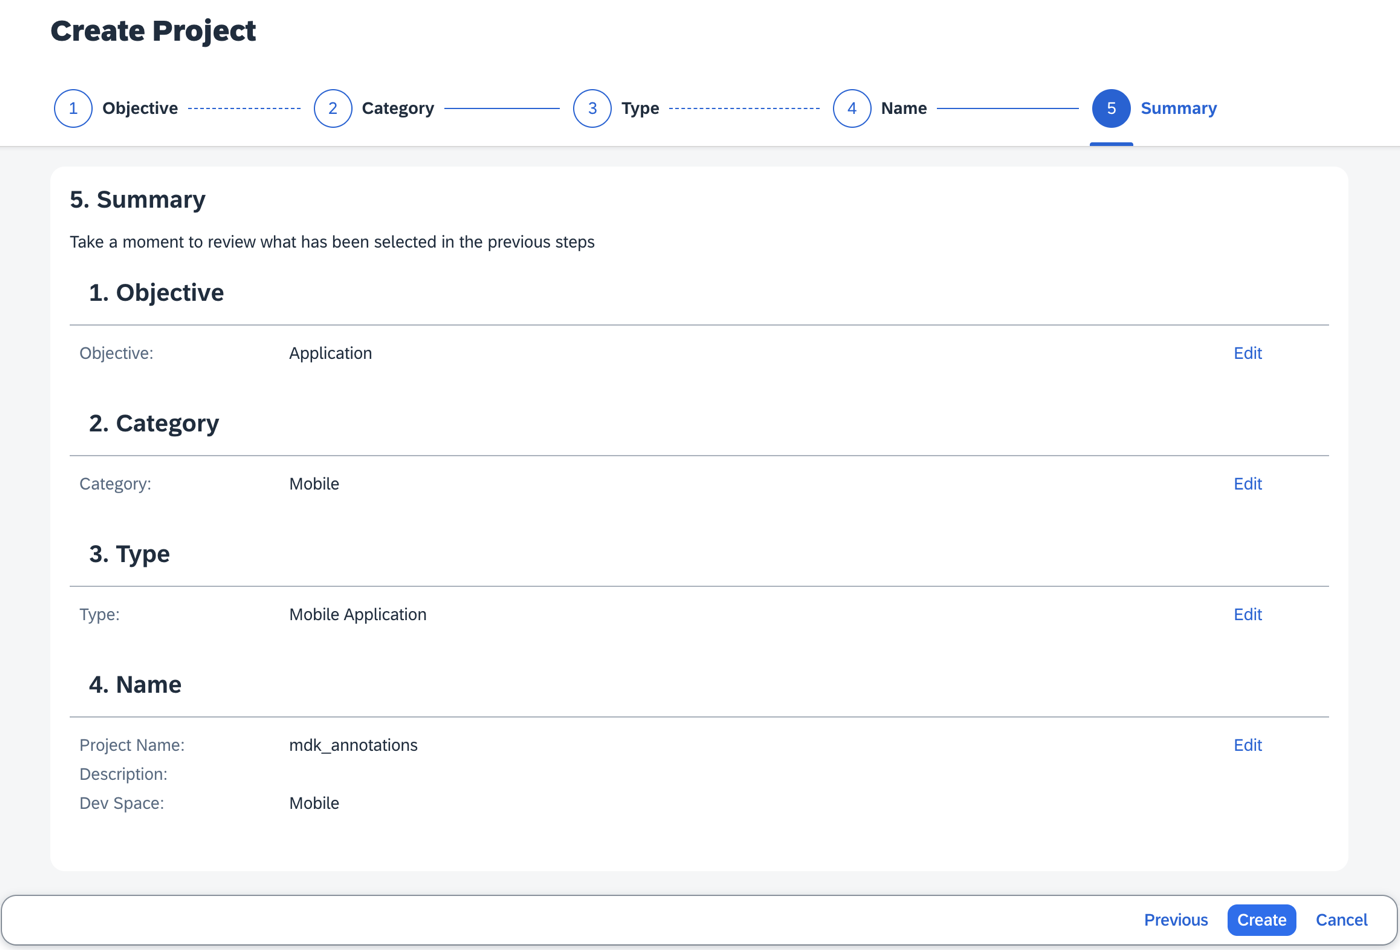
Project Summary Review Screen Your project is being created in the Project table of the lobby. The creation of the project may take a few moments.

Project Creation In Progress Lobby After you see a message stating that the project has been created successfully, click the project to open it. The project opens in SAP Business Application Studio.
Project Created Successfully Open When you open the SAP Business Application Studio for the first time, a consent window may appear asking for permission to track your usage. Please review and provide your consent accordingly before proceeding.
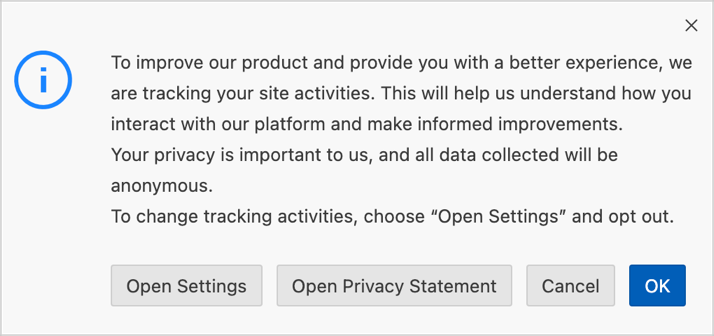
SAP BAS Usage Consent Window
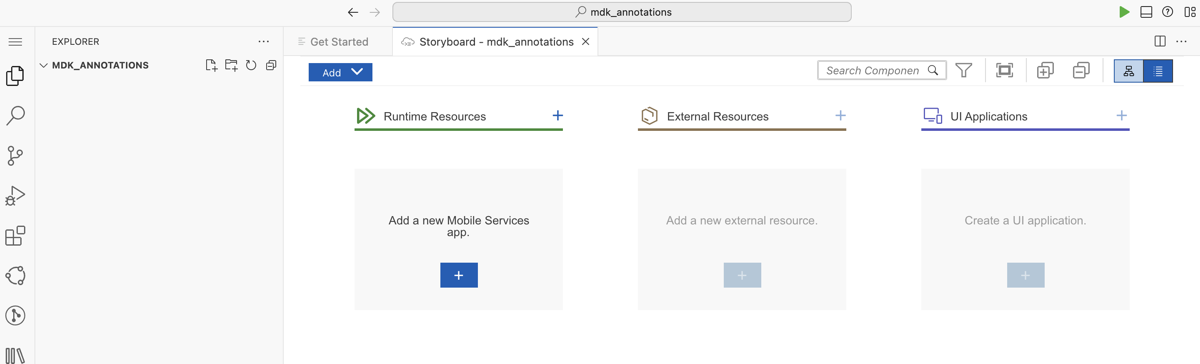
The Storyboard provides a graphical view of the application’s runtime resources, external resources, UI of the application, and the connections between them. This allows for a quick understanding of the application’s structure and components.
- Runtime Resources: In the Runtime Resources section, you can see the mobile services application and mobile destination used in the project, with a dotted-line connected to the External Resources.
- External Resources: In the External Resources section, you can see the external services used in the project, with a dotted-line connection to the Runtime Resource or the UI app.
- UI Application: In the UI Applications section, you can see the mobile applications.
Click on + button in the Runtime Resources column to add a mobile services app to your project.
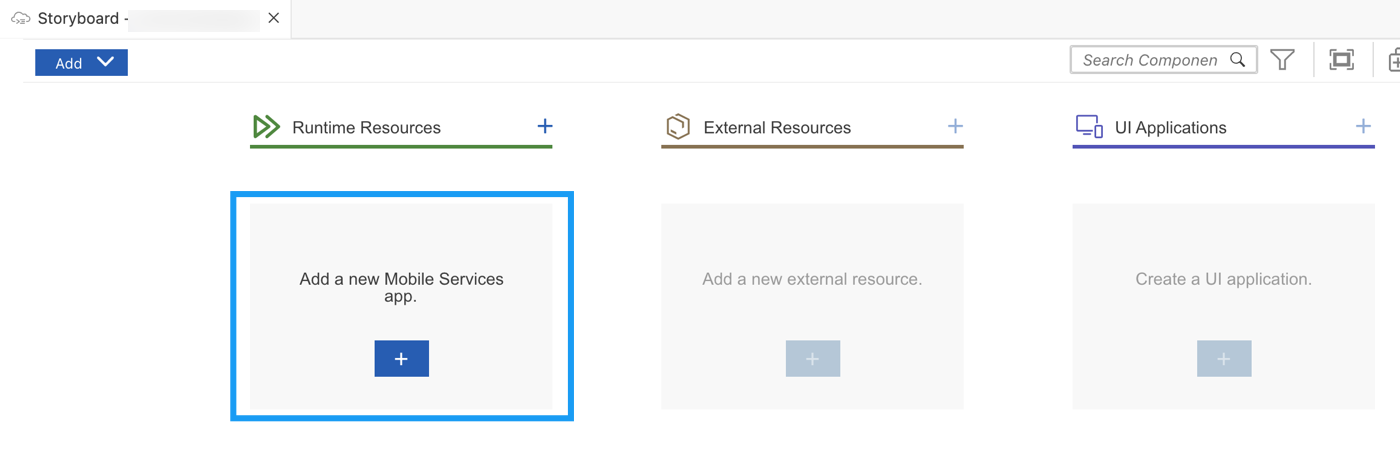
Runtime Resources Column Add Button This screen will only show up when your CF login session has expired. Use either
CredentialsORSSO Passcodeoption for authentication. After successful signed in to Cloud Foundry, select your Cloud Foundry Organization and Space where you have set up the initial configuration for your MDK app and click Apply.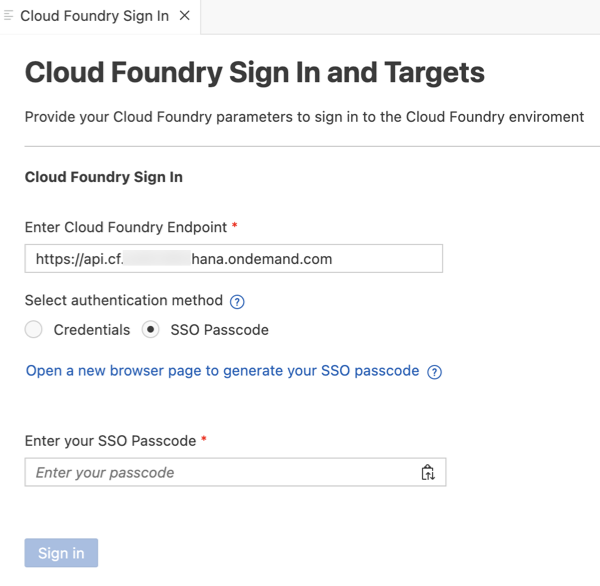
CF Login Credentials Dialog Choose
myapp.mdk.demofrom the applications list in the Mobile Application Services editor.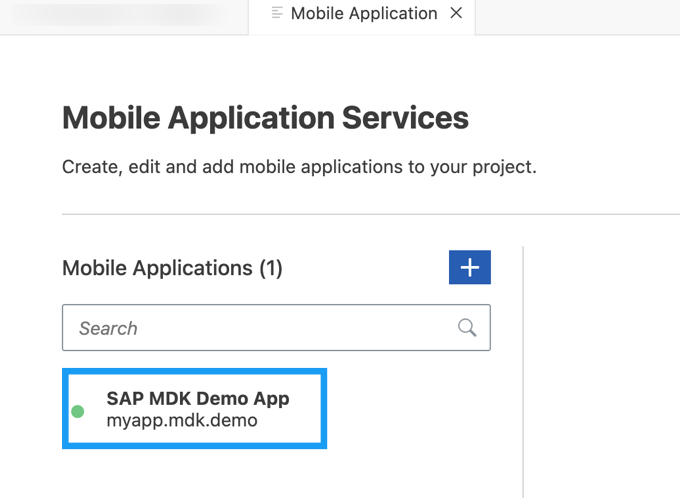
Mobile Application Services App Selection Select
com.sap.edm.sampleservice.v4from the destinations list and click Add App to Project.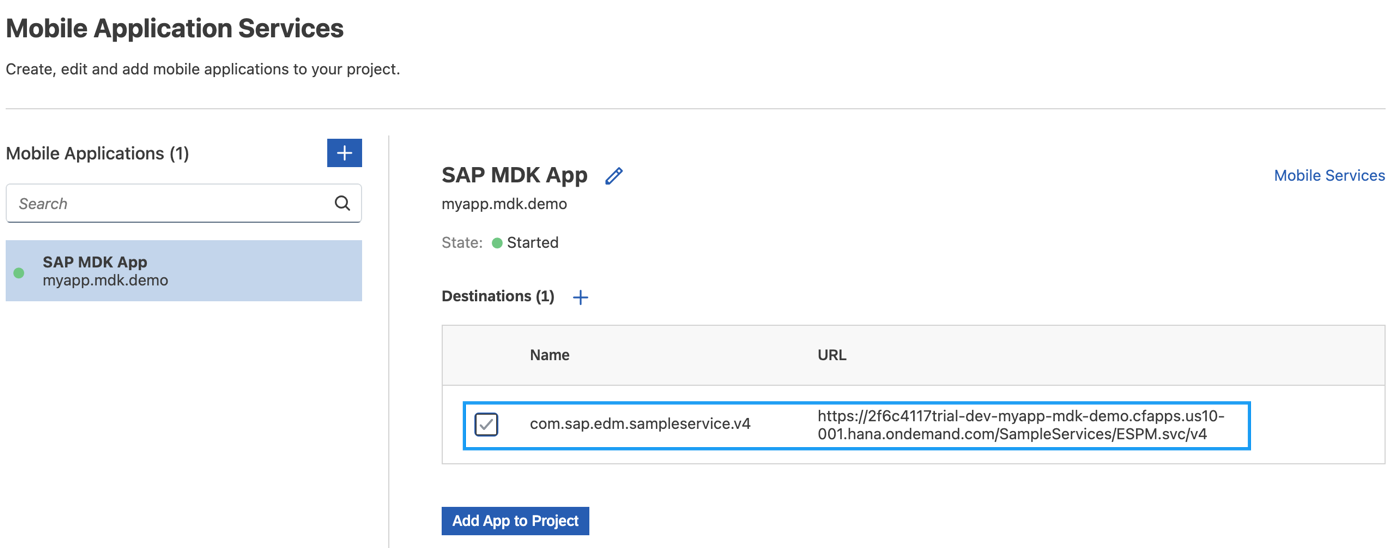
Destination Selection Add App To Project You can access the mobile services admin UI by clicking on the Mobile Services option on the right hand side.
In the storyboard window, the app and mobile destination will be added under the Runtime Resources column. The mobile destination will also be added under the External Resources with a dotted-line connection to the Runtime Resource. The External Resource will be used to create the UI application.
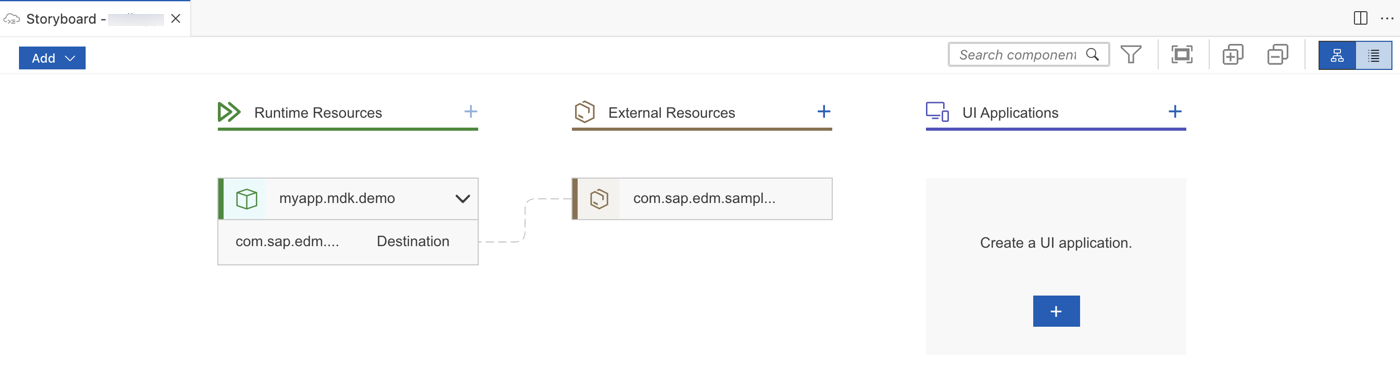
Storyboard With Runtime Resources Added Click the + button in the UI application column header to add mobile UI for your project.
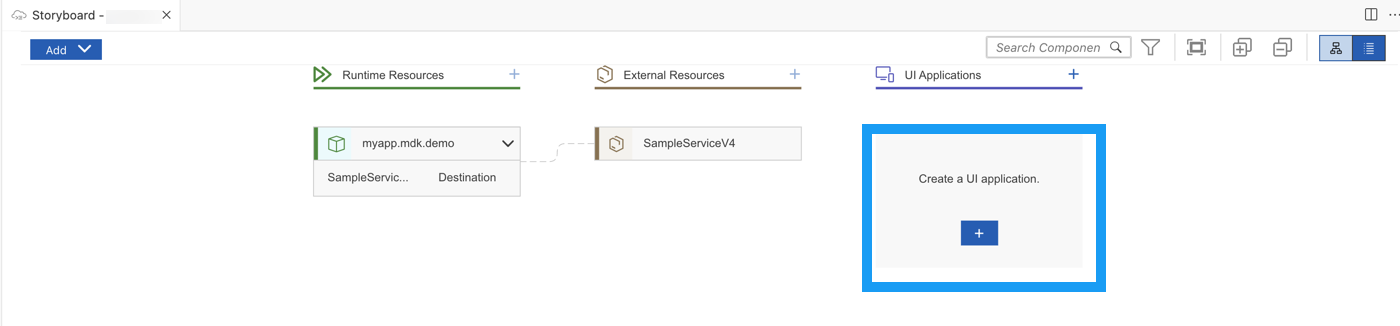
UI Application Column Add Button In the Basic Information step, provide the below information and click Next. You will modify the generated project in next step and will deploy it later.
Field Value MDK Template TypeBaseEnable Auto-Deployment to Mobile Services After Project CreationSelect No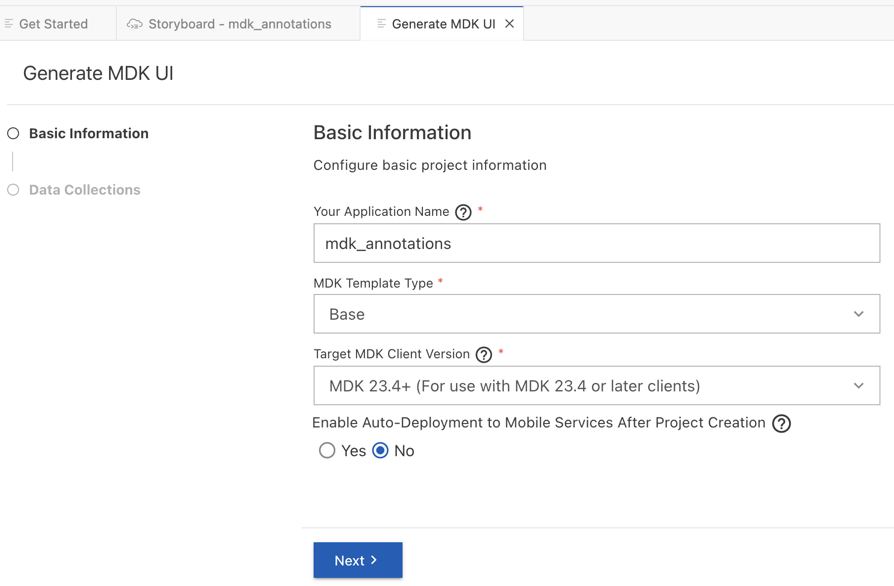
Basic Information Step MDK Template The
Basetemplate creates the offline or online actions, rules, messages and an empty page (Main.page). After using this template, you can focus on creating your pages, other actions, and rules needed for your application. More details on MDK template is available in help documentation.In the Data Collections step, provide the below information and click Finish. Data Collections step retrieves the entity sets information for the selected destination.
Field Value Enter a path to service (e.g. /sap/opu/odata/sap/SERVICE_NAME)Leave it as it is Select the Service TypeLeave the default value as ODataEnable OfflineSelect No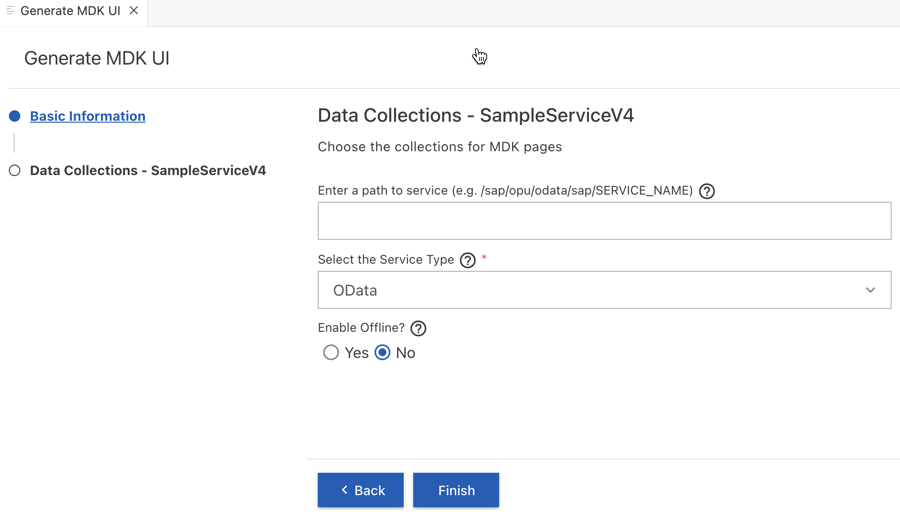
Data Collections Step Configuration Regardless of whether you are creating an online or offline application, this step is needed for app to connect to an OData service. When building an MDK Mobile application, it assumes the OData service created and the destination that points to this service is set up in Mobile Services.
Data Collections step retrieves the entity sets information for the selected destination.
After clicking Finish, the storyboard is updated displaying the UI component. The MDK project is generated in the project explorer based on your selections.
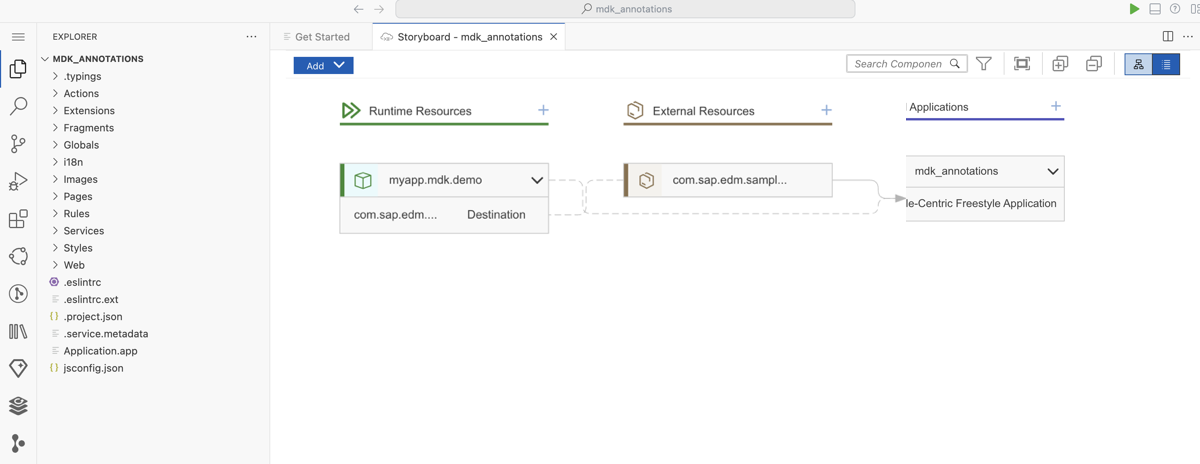
Storyboard Updated With UI Component
Right-click
Application.appand select MDK:New Annotation Component.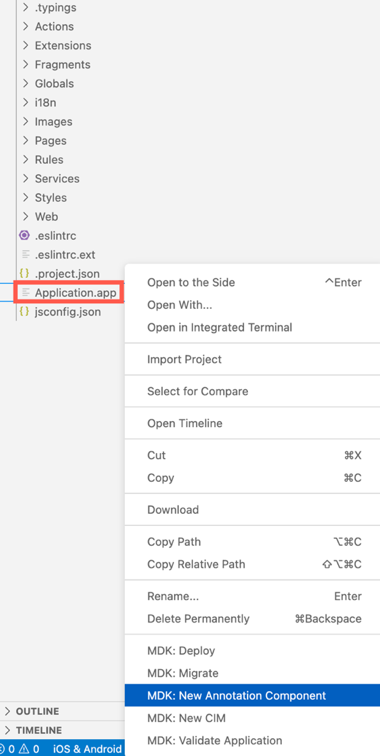
Application.app New Annotation Component Menu In the Annotation Selection step, MDK editor fetches annotation details. Select Product Annotation and click Next.
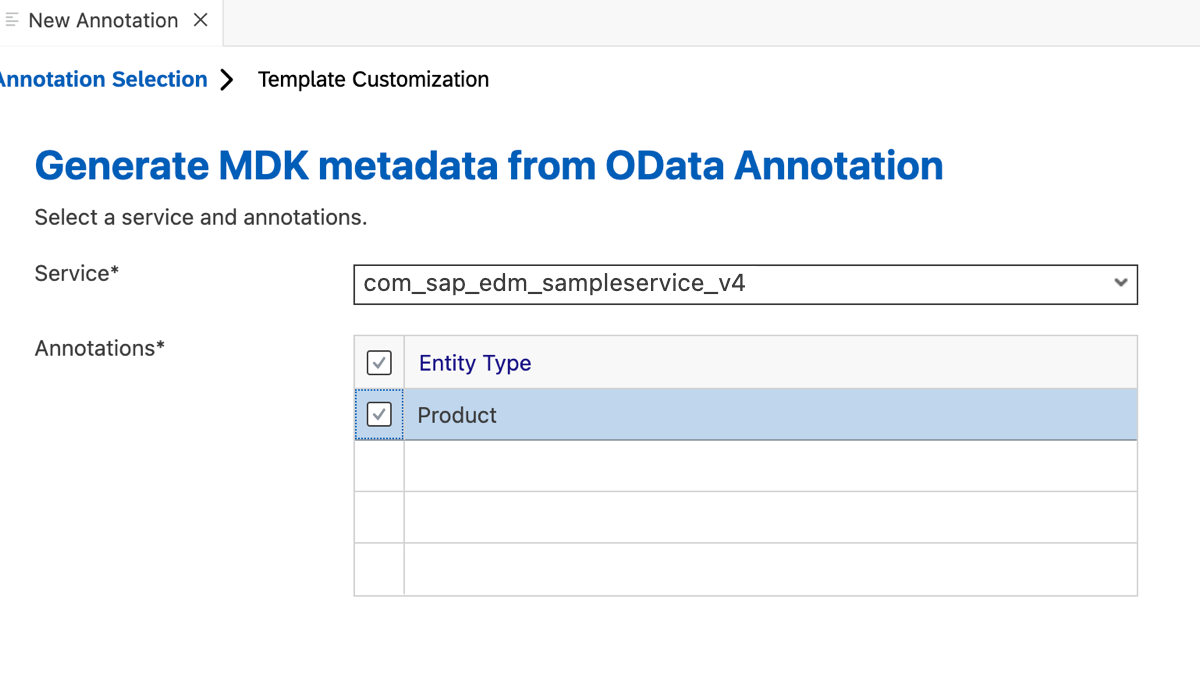
Annotation Selection Product Step In Template Customization step, select CRUD Template and click Finish.
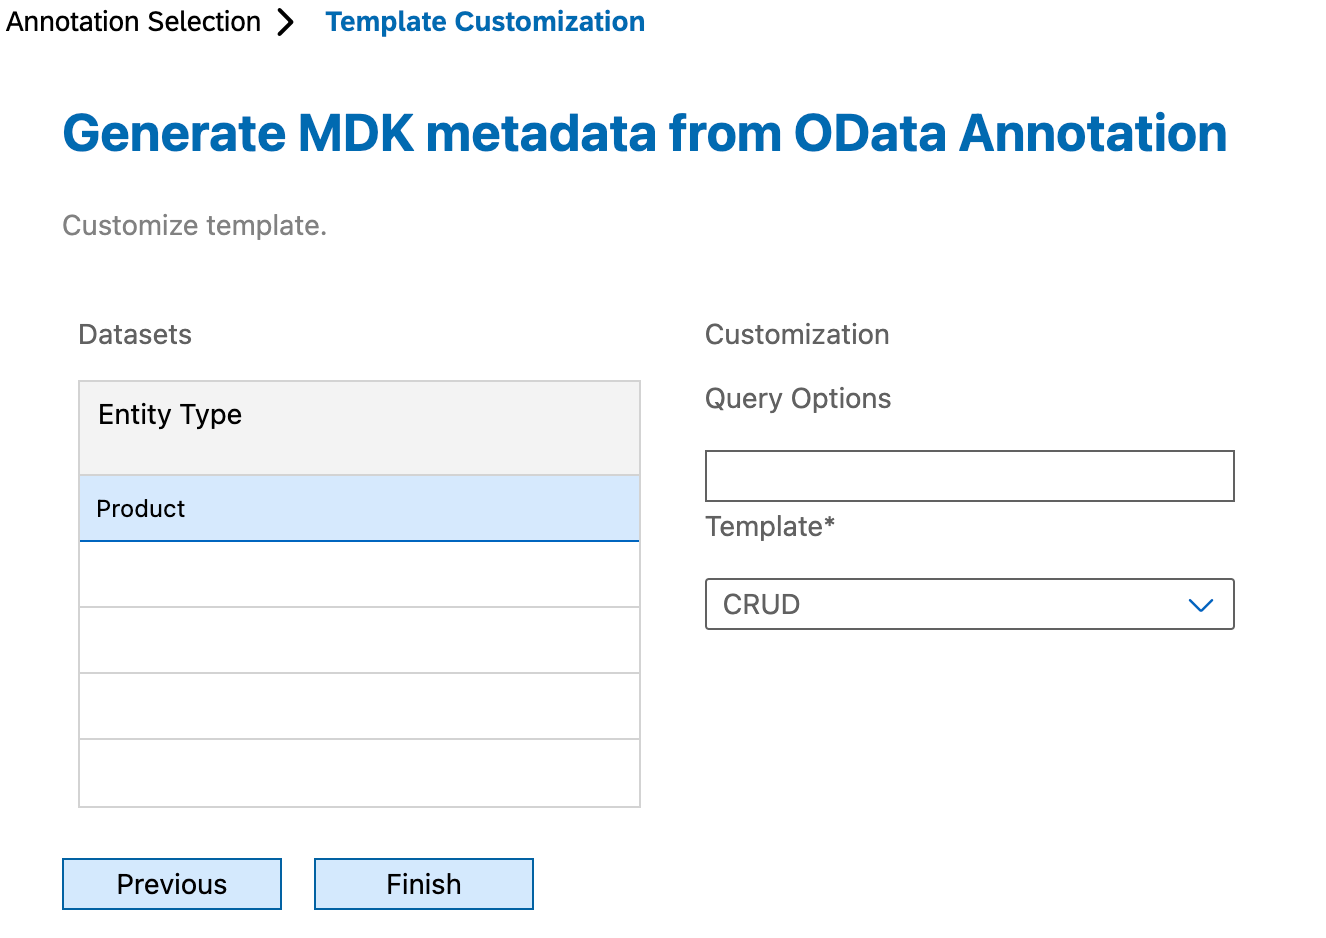
Template Customization CRUD Selection In MDK project, you will see new pages, actions, and rules have been generated for Products.
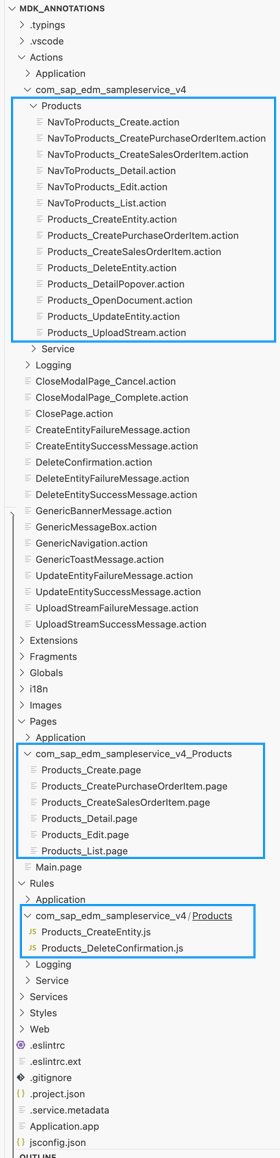
Generated Products Pages Actions Rules You will also notice a button control has been generated on the
Main.pageto navigate toProduct_List.page.Pages, actions and rules created are a starting point. You can edit those pages and make it your own. At this point the MDK editor is no longer reading the annotations from OData.
If the OData designer updates the backend services data schema (annotations), the MDK pages will stay as originally created. It will not automatically update the pages or overwrite your changes. You are disconnected from the annotations at this point.
So far, you have learned how to build an MDK application in the SAP Business Application Studio editor. Now, you will Deploy the Project definitions to Mobile Services to run it in the Mobile client.
Open the
Application.appfile, click the Deploy option in the editor’s header area, and then choose the deployment target as Mobile Services.
Application.app Deploy Option Header Select deploy target as Mobile Services.

Mobile Services Deploy Target Selection If you want to enable source for debugging the deployed bundle, then choose Yes.

Enable Source For Debugging Prompt You should see Deploy to Mobile Services successfully! message.

Deploy To Mobile Services Success Message
SAP Business Application Studio includes a feature that displays a QR code for onboarding in the mobile client. To view the onboarding QR code, click the Application QR Code icon in the editor’s header area.

The On-boarding QR code is now displayed.
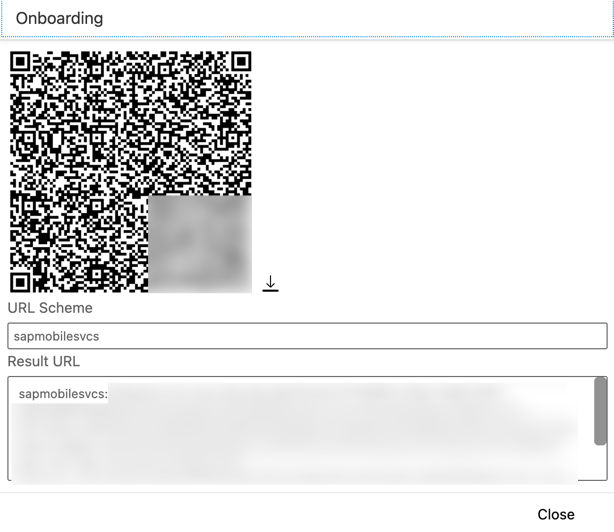
Leave the Onboarding dialog box open for the next step.
Ensure that you choose the correct device platform tab above. Once you have scanned and onboarded using the onboarding URL, it will be remembered. If you log out and onboard again, you will be prompted to either continue using the current application or scan a new QR code.
Follow these steps to successfully on-board the MDK client on your Android device.
After you accept app update, tap on the Products to navigate to the Products List page.
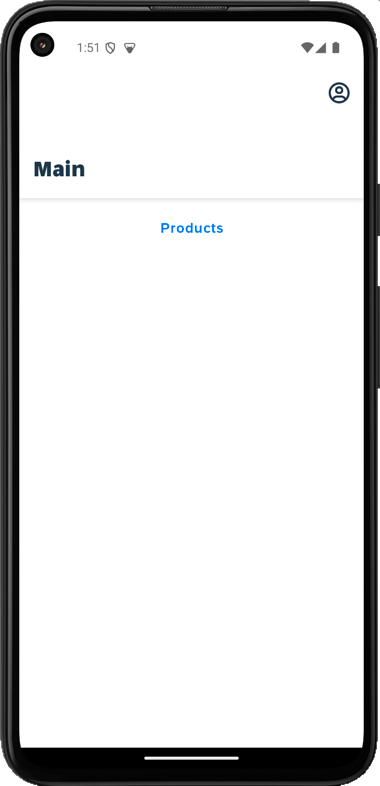
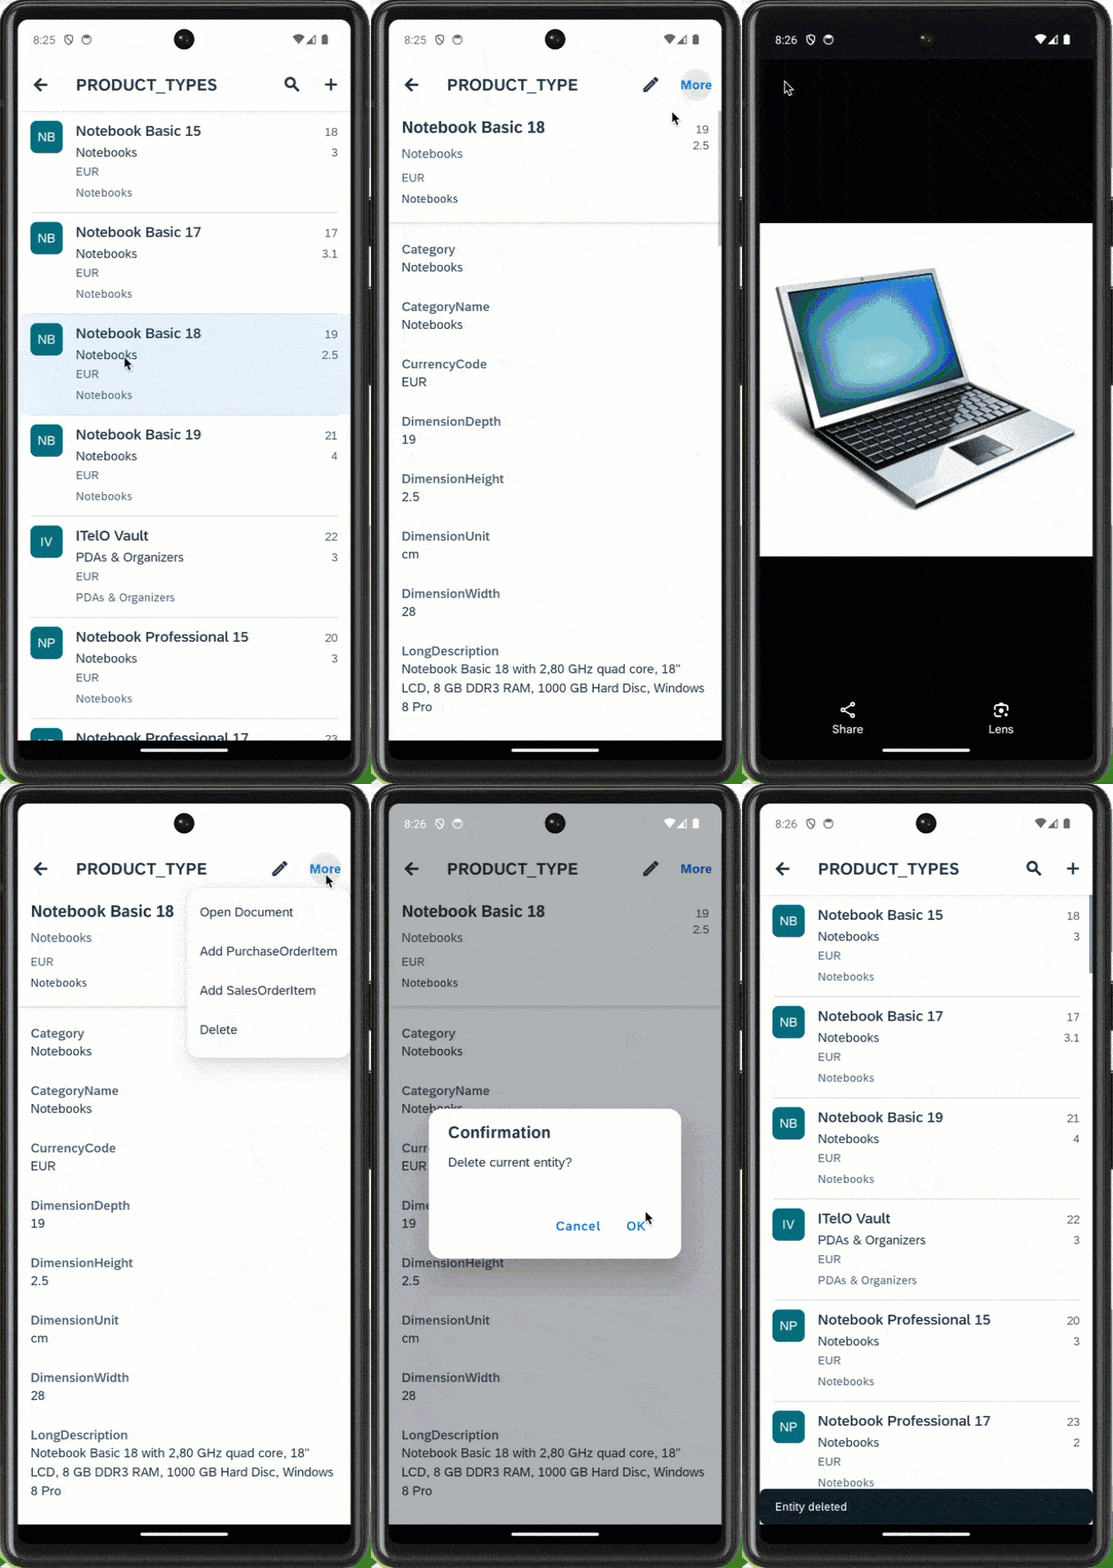
Products Navigation List Page Android In following pages, you can create a new record, modify an existing record, open the product image, add a purchase order item, add a sales order item and even delete the record.
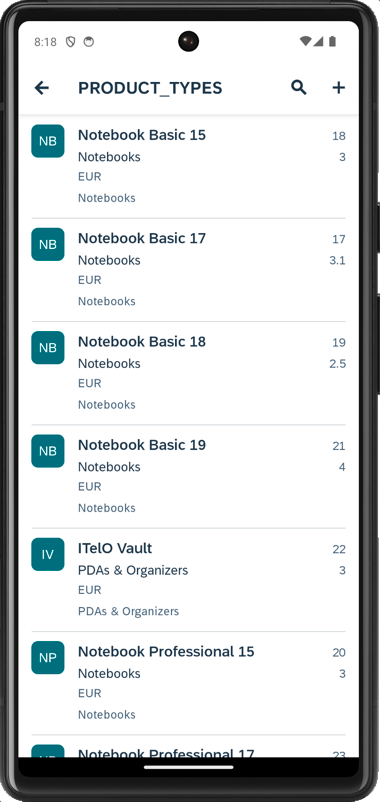
Product Detail Page Android Step 1 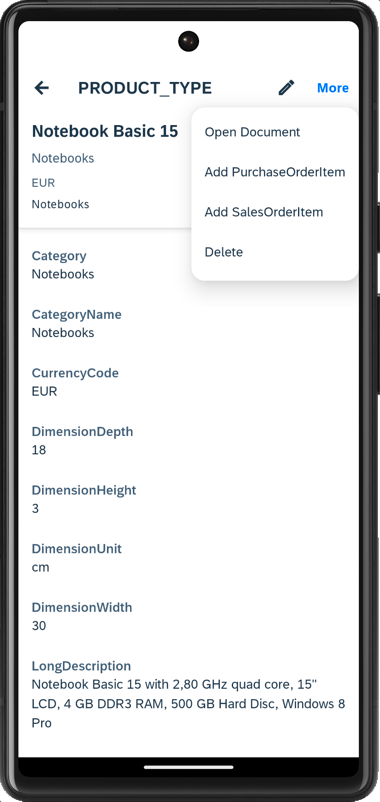
Product Detail Page Android Step 2
Ensure that you choose the correct device platform tab above. Once you have scanned and onboarded using the onboarding URL, it will be remembered. If you log out and onboard again, you will be prompted to either continue using the current application or scan a new QR code.
Follow these steps to successfully on-board the MDK client on your iOS device.
After you accept app update, tap on the Products to navigate to the Products List page.
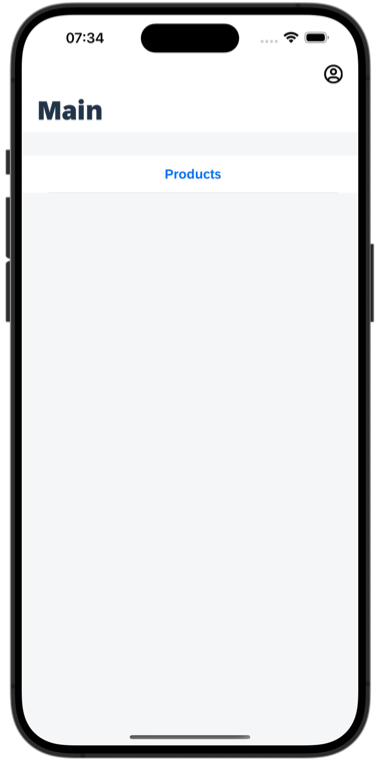
Products Navigation List Page iOS In following pages, you can create a new record, modify an existing record, open the product image, add a purchase order item, add a sales order item and even delete the record.
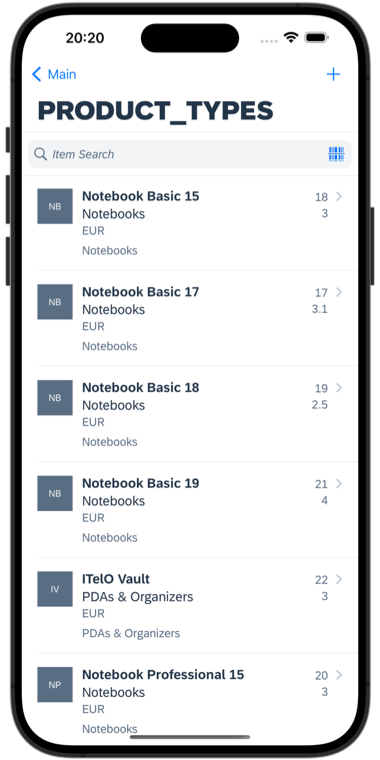
Product Detail Page iOS Step 1 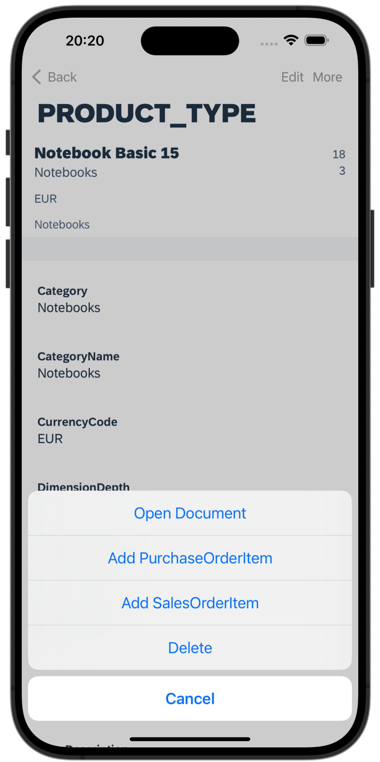
Product Detail Page iOS Step 2
Resources
Discussion
Share feedback on this tutorial or join the conversation in SAP Community.