
Overview
You will learn
- How to create a page
- How to add apps to a page
- How to create a space and assign pages to it


Prerequisites
Prerequisites
- Make sure you’ve selected Spaces and Pages - New Experience view mode for your site in the Site Settings screen.
Steps
Intro
If you select the Spaces and Pages - New Experience view mode, you can create custom Spaces and Pages. These are referred to as local spaces and pages. You can create your pages and then assign these pages either to an existing space or a new space that you create. Last you would need to assign the space to a role so that users with this role can access the spaces and the pages assigned to them.
Open the Content Manager.

Open content manager Click Create and from the dropdown list, select Page.

Create page Enter a title for the page:
Overview.
Enter a title
Click Add Section

Add a section For the header enter
My Apps, and click Add Widget.
Enter title for section In the Add Apps screen, select the
New OrdersandExternal Communityapps that you created and click Add.In this screen you’ll see all the apps that you can access from your subaccount - so far we only have 2 apps in our subaccount.

Select tiles You can add more apps to your page - they will display side by side in a section.
Click Save. This is how your page looks:

View page Go back to your Content Manager using the breadcrumbs at the top.

Go back to Content Manager See that the page you created is in the list of content items.

View app in content items list
In the Content Manager click Create and then select Space.

Create space Enter a title for the space:
Home.
Enter title of space In the Pages tab, you’ll see a list of pages and from here you can assign as many pages as you want to the space. We only have 1 page - the
Overviewpage. In the Assignment Status column, you’ll see the toggle is red meaning that the page is not yet assigned to the space. Click the toggle to assign theOverviewpage to theHomespace and click Save.
Assign page to space Go back to the Content Manager using the breadcrumbs at the top. You’ll see that the space you created is added to the list of content items.
In this step, you’ll assign the space to the Everyone role.
Spaces are assigned to a role and users assigned to a specific role are able to access the space and see the relevant pages assigned to it. Content assigned to the
Everyonerole is visible to all users.
From the Content Manager, click the
Everyonerole.
Select everyone role Click Edit.

Edit space Under the Spaces tab, you’ll see the
Homespace you just created. Click the toggle to assign theHomespace to theEveryonerole.
Assign space to role Click Save.

Save assignment
Open the Site Directory.
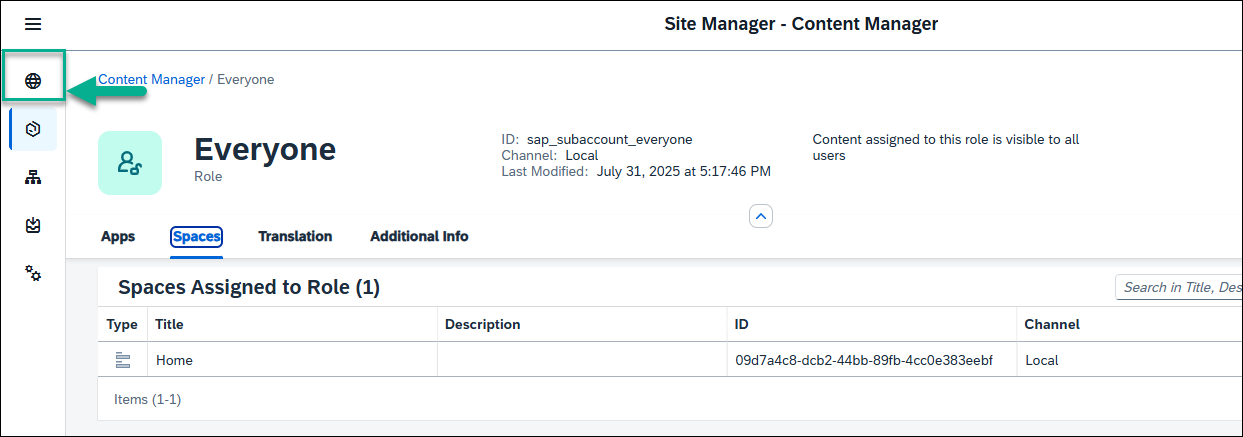
Open Site Directory On the
JobCoretile, click the Go to Site icon.
Go to site This is what you’ll see - under the
Homespace, you have theOverviewpage. In theMy Appssection, you have the 2 appsExternal CommunityandNew Ordersthat you added.
Final site
Resources
Discussion
Share feedback on this tutorial or join the conversation in SAP Community.