
Try Out the SAP BTP SDK Wizard for Android
Use the Android Studio-integrated SAP BTP SDK Wizard for Android to create a mobile app and configure it to make use of SAP Mobile Services features.
Overview
You will learn
- How to create and run an Android app using the wizard
- How to use Google Firebase to enable push notifications when generating an Android app using the wizard
- Which screens are generated by the wizard


Prerequisites
Prerequisites
- You have Set Up a BTP Account for Tutorials. Follow the instructions to get an account, and then to set up entitlements and service instances for the following BTP services. (To just complete this tutorial mission (except tutorial 7 about translation hub), it’s sufficient to simply Get a Free Account on SAP BTP Trial.)
- Mobile Services
- Make sure you can Access SAP Mobile Services.
- Installed Android Studio Narwhal 3 Feature Drop | 2025.1.3. Please use the specified version.
- Downloaded and Installed version 25.11.x or higher of the SAP BTP SDK for Android.
- Created a Google account.
Steps
Please read Prerequisites first.
Open Android Studio.
Choose New SAP BTP Android App

New project The wizard can save server connection details for multiple servers. Fill in the required fields as shown below.
Field Value Account Name SAP Mobile ServicesAdmin API URL See below for how to get this URLAdmin UI URL See below for how to get this URLAuthentication Type BasicUsername Username for your accountPassword Password for your accountSave Account Information Check this so that you do not have to re-enter account information on subsequent runs of the wizardGo to the SAP Mobile Services cockpit and under Important Links, both Admin URLs are present and can be copied.

Admin API and UI URL 
Server connection Click Next in the Server Connection screen.
Select Sample in the Cloud Configuration screen and set the Application ID to
btp.sdk.wizapp.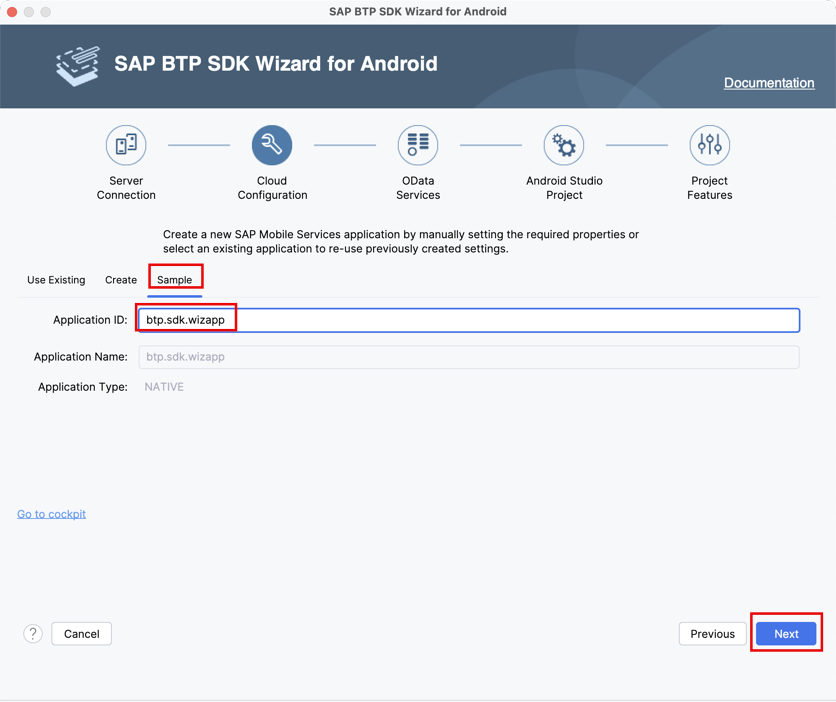
Sample tab information SAP Mobile Services provides a sample back-end destination called
com.sap.edm.sampleservice.v4, which is used here to provide data for the application. It includes product categories, products, suppliers, customers and sales order data. Select it and click Next.
Odata service destination screen Provide the following configuration data in the Android Studio Project screen.
Field Value Project Name Wiz AppProject Namespace com.sap.wizappUI Framework View-based UI/Jetpack Compose-based UI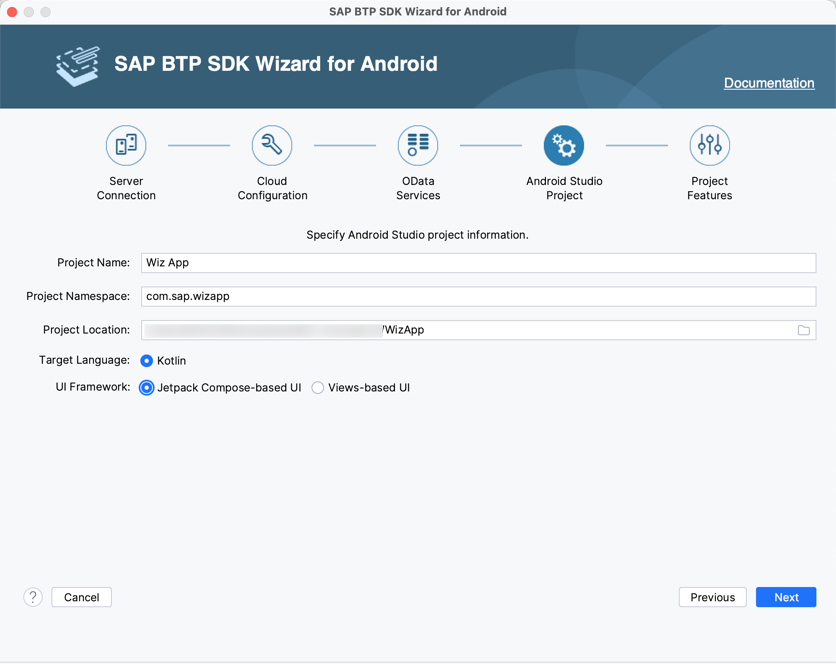
Project configuration Provide the following configuration data in the Project Features screen.
Field Value Enable Multiple Users uncheckActivation Options Generate AppConfig.jsonOData OnlineCreate a Sample User Experience for the Selected OData Destination checkEnable Logging checkEnable Upload checkEnable Usage Reporting checkEnable Crash Reporting optionalEnable Push optional
Project features If you would like to add push notification support to your app, proceed to Step 2, which describes how to acquire the
google-services.jsonfile required for cloud messaging. Otherwise, uncheck Enable Push, click Finish and proceed to Step 3.
If you check the Enable Push checkbox, an error message will appear, indicating that you need to specify a google-services.json file. We will obtain this file from the Cloud Messaging feature in Google Firebase.
Open the Firebase console and click Create project. (If you have created any before, click Add project.)
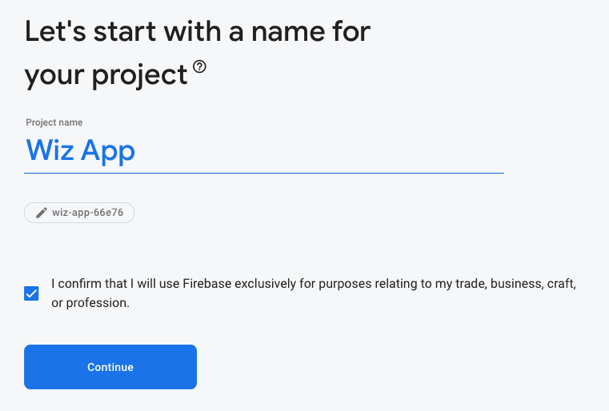
Add project in Firebase Click Continue until a new project is successfully created.
Navigate to the Project settings for the newly created project.

Project settings Scroll down and add a Firebase to your app.

Add Firebase to your Android app The Android package name must match the Project Namespace you used to create the app in Android Studio. In our example, the Android package name is
com.sap.wizapp.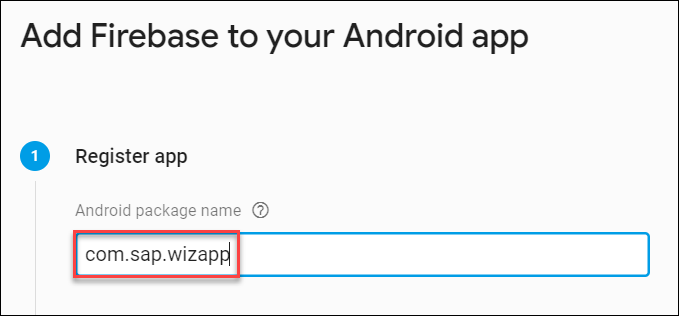
Register App Download the
google-services.jsonfile.
Download google-services.json file Now browse for the
google-services.jsonfile in the wizard. This file is located in the generated project’s app folder, enabling the app to work with Google Firebase notifications.
Add google-services.json file to wizard You can add push configuration on the server as in the Send Notifications to Your Android Application tutorial.
Click Create and proceed to Step 3.
Wait for the build to finish.
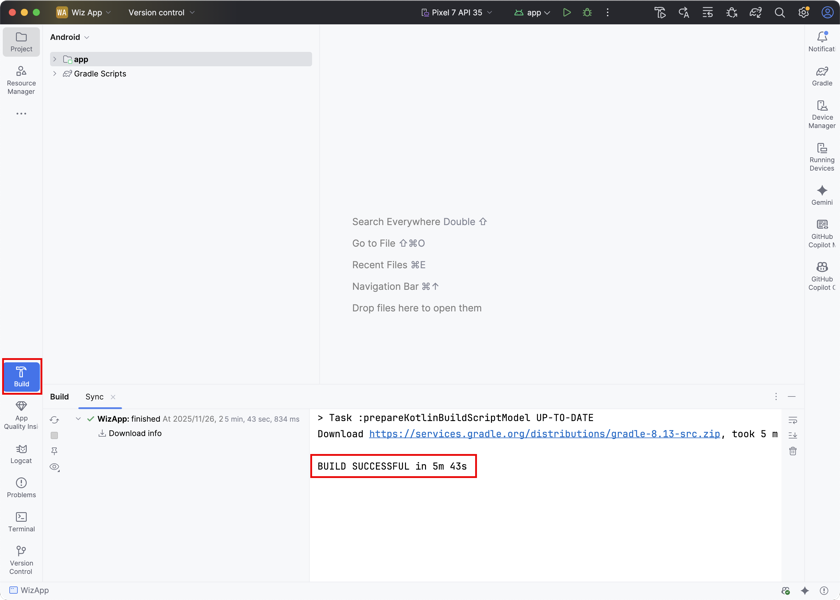
Project created You may encounter a build error similar to: “Could not resolve all files for configuration ‘:classpath’……”, open Preferences (Windows: Settings, Mac: Android Studio > Settings…) to change
gradle jdkto 17.
Set gradle jdk to 17 Finally, sync the project with the gradle files.
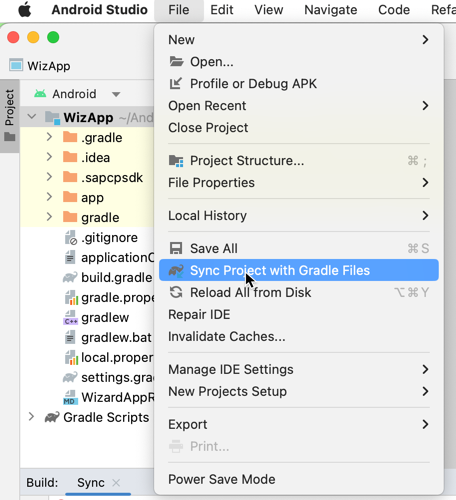
Sync project with gradle files Choose an emulator for running the app.
If you enabled the push service, please ensure you install an emulator with the Target labeled as Google Play. For more information on creating virtual devices that run in the Android Emulator, see Create and manage virtual devices in the Android Studio User Guide.

Deployment target Click the Run toolbar icon.

Run the project The welcome screen is displayed the first time the app is launched.

Welcome screen Check the agreement, click Get Started, and the sign-in screen is displayed. Log in with your username and password.

Authentication screen The credentials you enter are securely stored by the app, and do not need to be re-entered the next time you open the app.
The passcode (or fingerprint if enabled) screen provides an additional layer of security for your app.
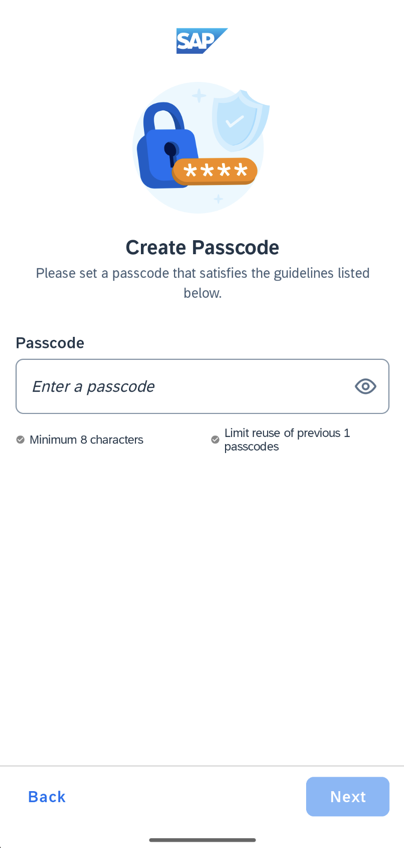
Passcode screen You can modify the passcode policy in the Mobile Service Cockpit under Client Configuration in Client Settings page. The passcode screen will not be displayed if the Enable Passcode Policy is not checked.

Client Settings page access 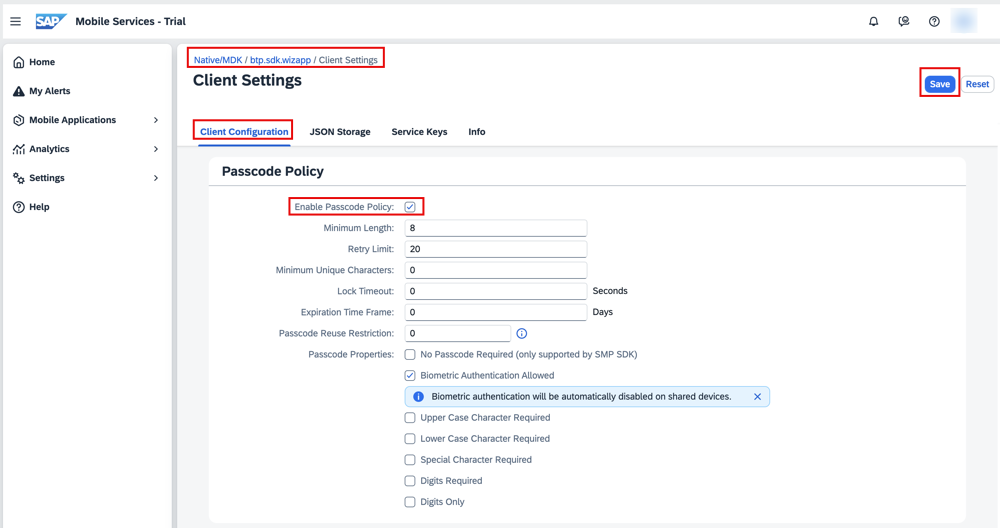
Passcode Policy Enable Usage Reporting is checked, this screen can display details about how the collected data will be utilized. For now, select either Allow or Deny. Usage Reporting is covered in another tutorial in this mission.
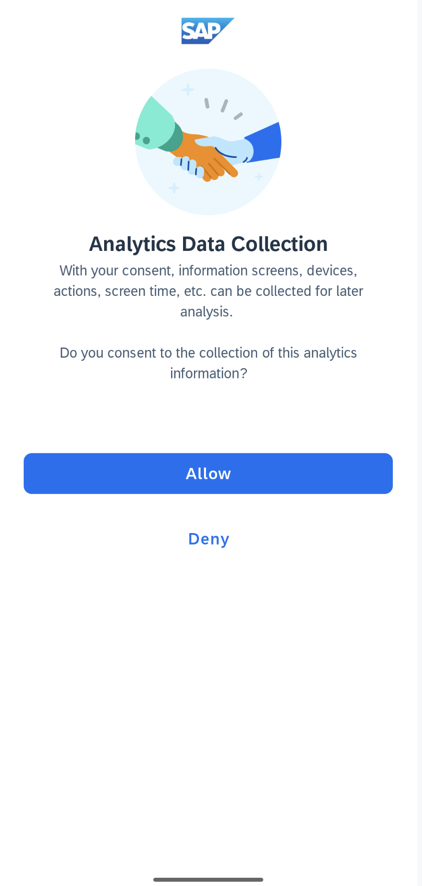
Usage Reporting Consent Screen Similar to
Usage Reporting, if Enable Crash Reporting is checked, this screen will show details about how the collected information will be used. Choose either Allow or Deny. If you select Deny, the crash information will only be stored locally.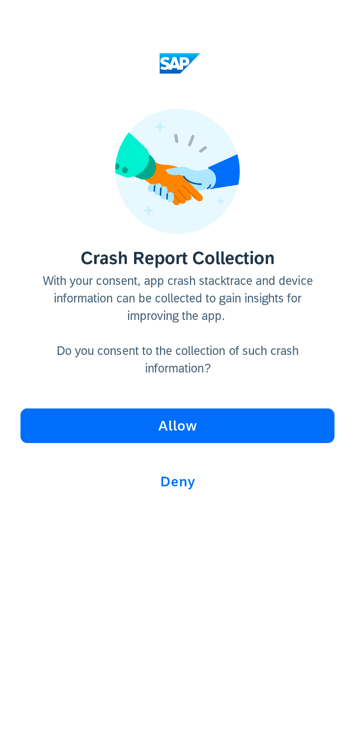
Crash Reporting Consent Screen Click Next on the Allow Notifications screen to choose either Allow or Don’t allow to indicate whether you want the app to send you notifications.
The first screen of the app displays various entities that are available in the sample OData service.

Entities screen Tap Products to navigate to the products list.

Products screen Tap a list item to display the following editable detail screen.

Category detail
For further information on generating your app, see Creating Apps with the Wizard.
Congratulations! You have created your first Android app using the SAP BTP SDK Wizard for Android!
Resources
Discussion
Share feedback on this tutorial or join the conversation in SAP Community.