Let’s create an application for a customer loyalty program. The customer can get bonus points by purchasing products and can redeem these points.
Note: Joule is a Generative AI assistant that will create code for you. The code might be different every time you trigger the prompt, so the examples shown in the tutorial might not be exactly the same as what you see in your system.
Step 1Create a multi-step CAP application
—
Open your Full Stack Node project.
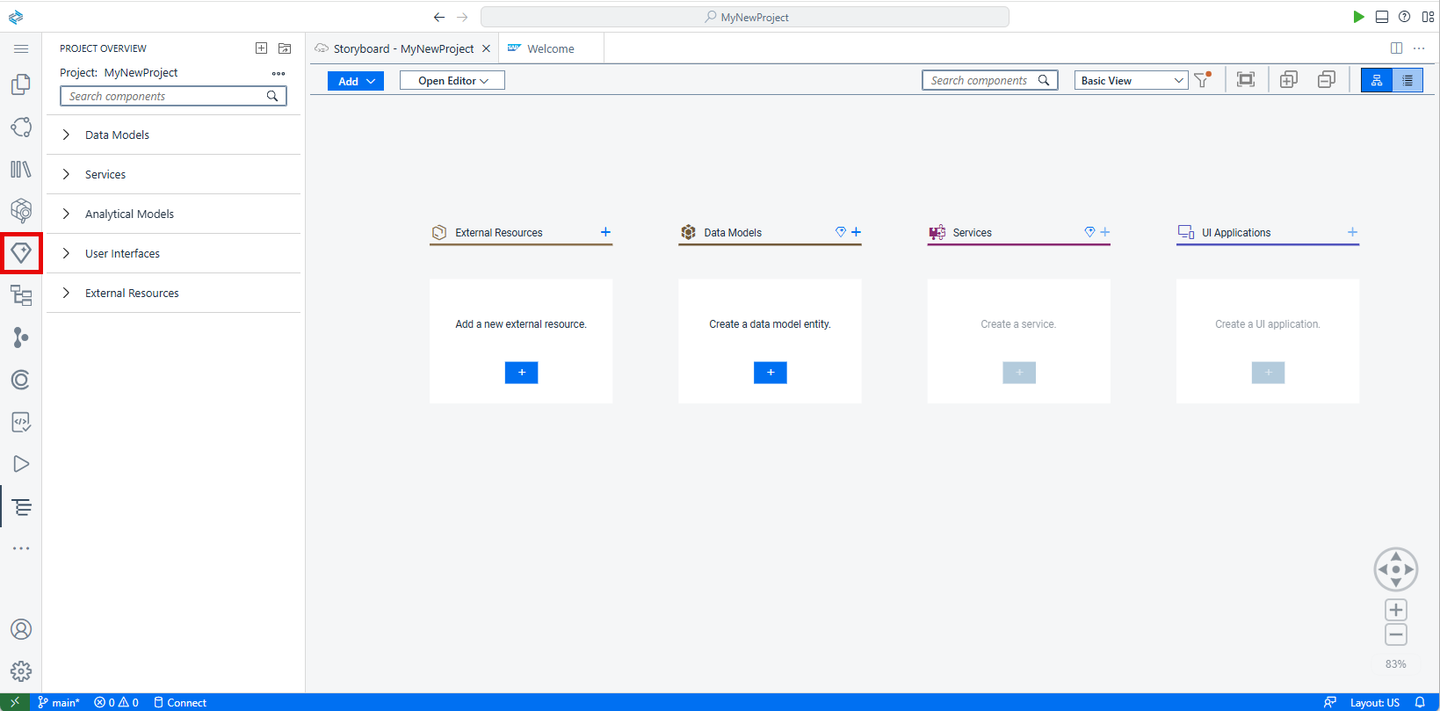
In SAP Business Application Studio, the SAP Build Code development environment, open the digital assistant, Joule, from the activity bar.
Open Joule
If you do not see the icon, click Additional Views and select Joule from the list.
Find Joule icon
Copy the prompt below.
Code
Create a customer loyalty application with sample data and application logic.
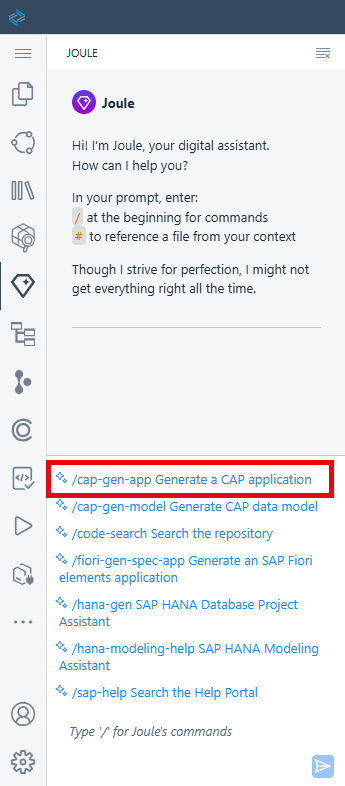
At the bottom of the Joule view, select the ‘/cap-gen-app` slash command and then paste the code below in the text field.
Enter command
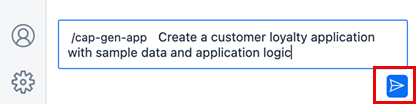
Click the arrowsend arrowto send the prompt to Joule.
Enter Prompt
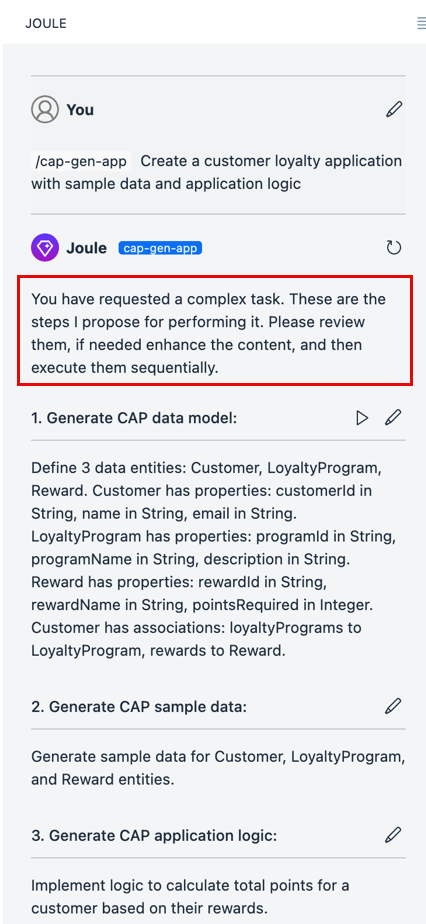
Since this is a complex task, Joule divides it into different steps and provides suggestions for the prompts for each step. You can edit these prompts before triggering the generation.
Enter Prompt
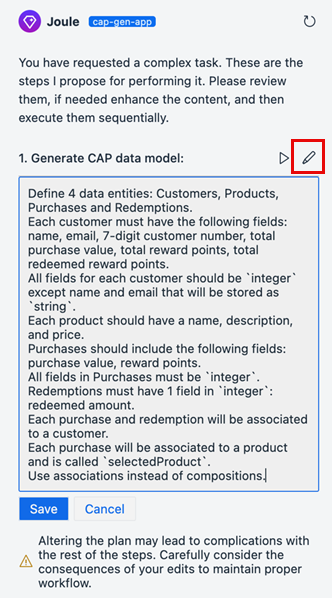
While Joule suggests certain properties for the entities, let’s edit the prompt to offer a clearer description that aligns better with the data model’s requirements.
Copy the prompt below.
Code
Define 4 data entities: Customers, Products, Purchases and Redemptions.
Each customer must have the following fields: name, email, 7-digit customer number, total purchase value, total reward points, total redeemed reward points.
All fields for each customer should be `integer` except name and email that will be stored as `string`.
Each product should have a name, description, and price.
Purchases should include the following fields: purchase value, reward points.
All fields in Purchases must be `integer`.
Redemptions must have 1 field in `integer`: redeemed amount.
Each purchase and redemption will be associated to a customer.
Each purchase will be associated to a product and is called `selectedProduct`.
Use associations instead of compositions.
Clickedit stepto edit step 1 and replace the prompt with the one you just copied.
edit step1
Click Save.
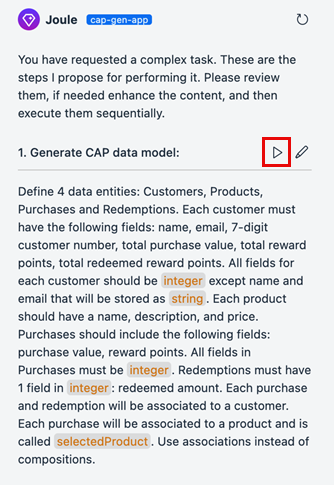
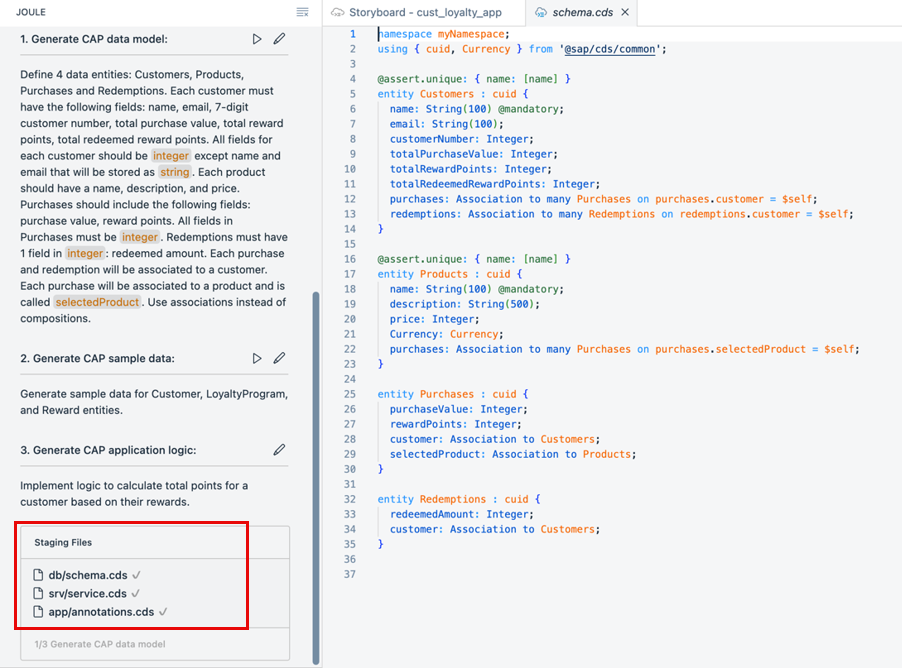
Clickrun stepto run the step and generate the CAP data model.
run step1
The staging files are generated and are displayed below your prompt. You can view or edit them by clicking on the file name.
generated code
Note: If you only want to create a data model and service, you can use the /cap-gen-model slash command.
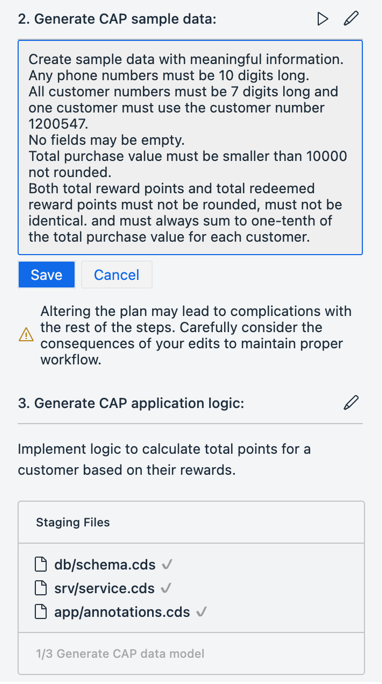
Let’s edit the sample data to match requirements.
Copy the prompt below.
Code
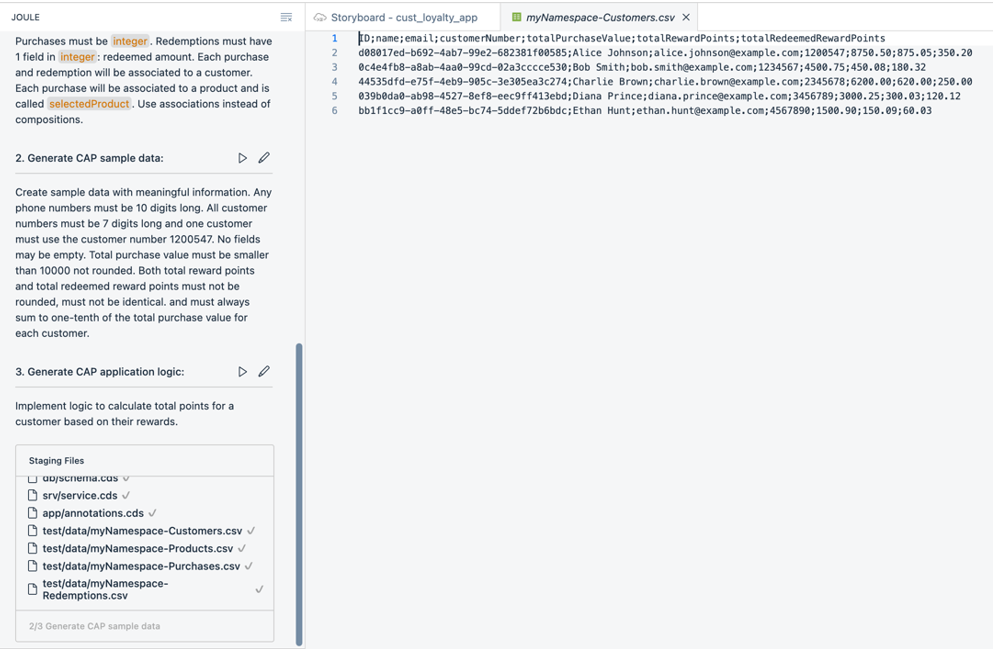
Create sample data with meaningful information. Any phone numbers must be 10 digits long.
All customer numbers must be 7 digits long and one customer must use the customer number 1200547.
No fields may be empty.
Total purchase value must be smaller than 10000 not rounded.
Both total reward points and total redeemed reward points must not be rounded, must not be identical. and must always sum to one-tenth of the total purchase value for each customer
Clickedit stepto edit step 2 and replace the prompt with the one you just copied.
edit step1
Click Save.
Clickrun stepto run the step and generate the CAP sample data.
The CSV files are created and can be opened for review from the Staging Files list.
generated code
Note: You can also trigger the sample data generation separately using the /cap-gen-data slash command or edit the existing data using the /cap-edit-data slash command.
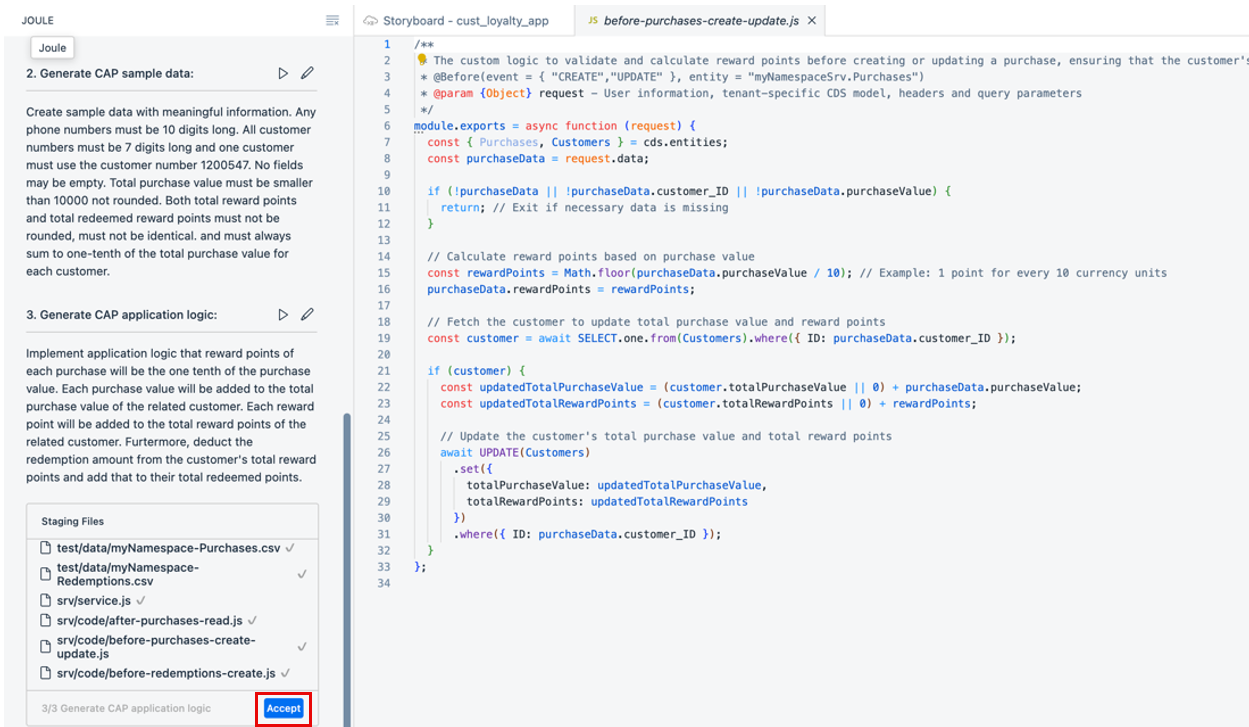
Now we will add application logic so that for each purchase, customers receive reward points equal to one-tenth of the purchase price. The purchase value will be added to the customer’s account.
Additionally, when customers use reward points, the points should be deducted from their total reward points and added to their total redeemed points.
Copy the prompt below.
Code
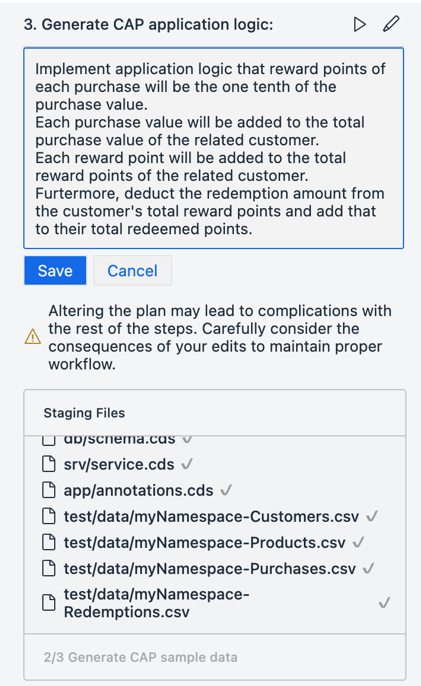
Implement application logic so that reward points of each purchase will be one tenth of the purchase value.
Each purchase value will be added to the total purchase value of the related customer.
Each reward point will be added to the total reward points of the related customer.
Furthermore, deduct the redemption amount from the customer's total reward points and add that to their total redeemed points.
Clickedit stepto edit step 3 and replace the prompt with the one you just copied.
edit step3
Click Save.
Clickrun stepto run the step and generate the CAP application logic.
run step3
The relevant files are created with the required code.
Note: In an existing project with application logic available, you can use the /cap-app-logic slash command to enhance or modify the logic.
Accept the code.
accept
Step 2Add UI to the Application
+
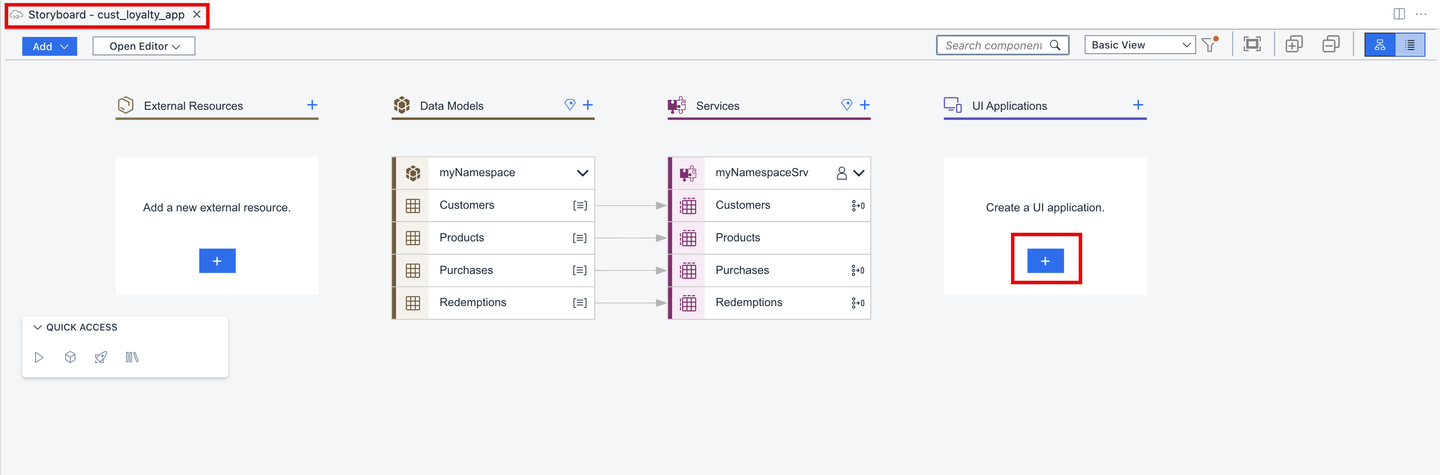
To display and test the content we created for the customer loyalty program, we need to create an SAP Fiori elements UI.
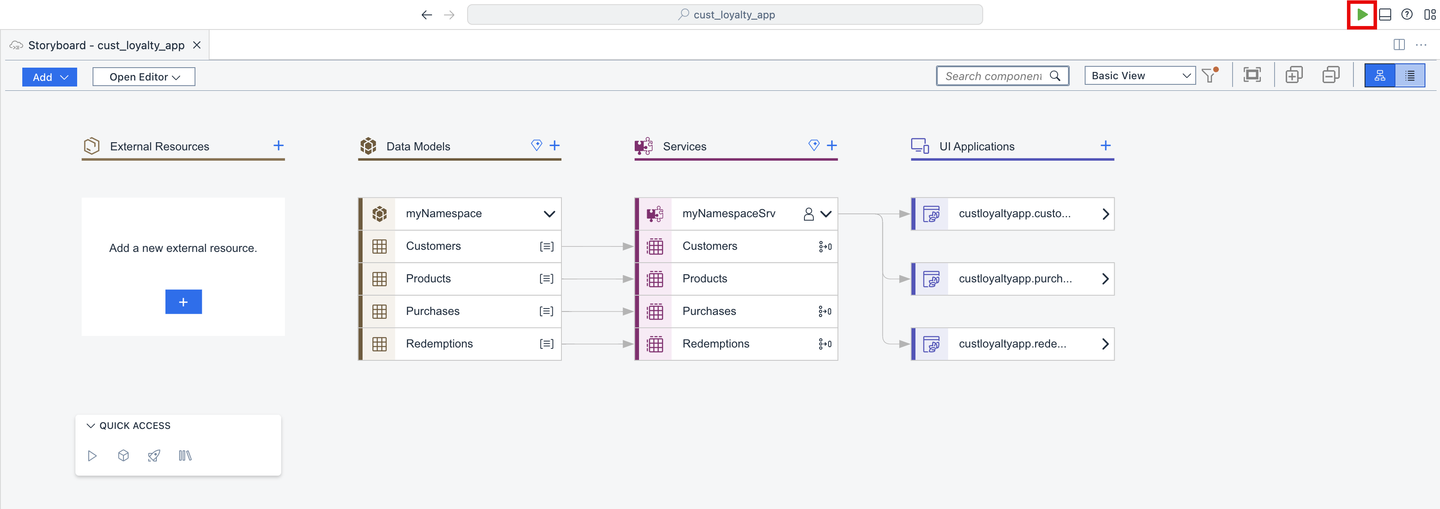
Go to back to the Storyboard and add a UI application.
Add UI
We will start with the user interface for the Purchases data entity.
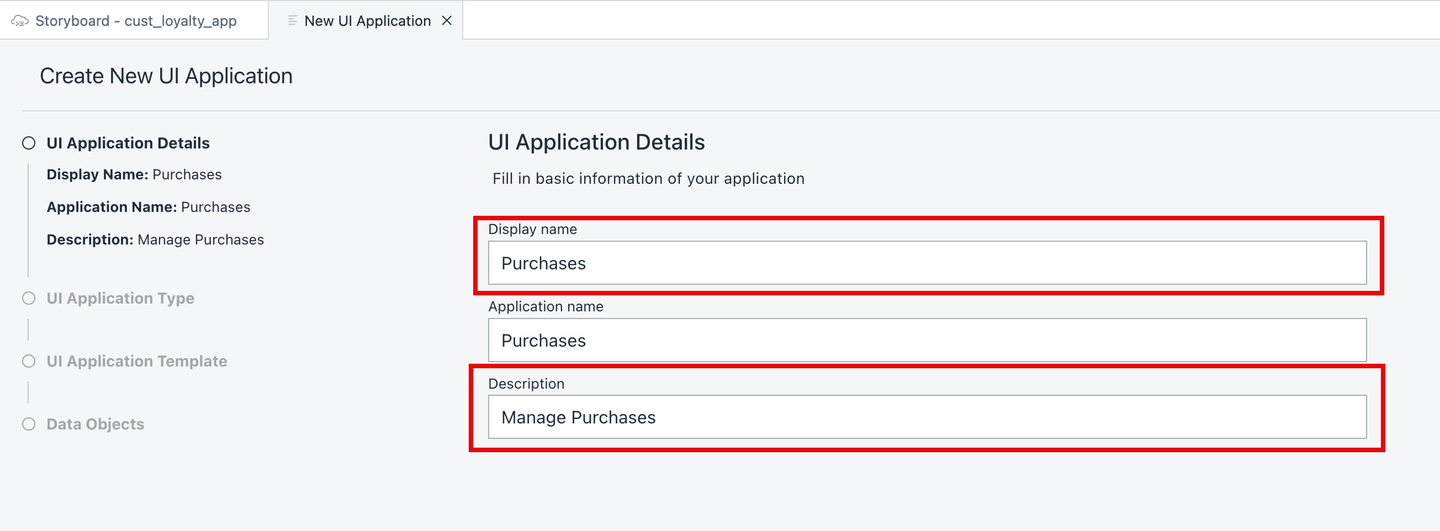
Set the Display name to Purchases and the Description to Manage Purchases, and then click Next.
UI details
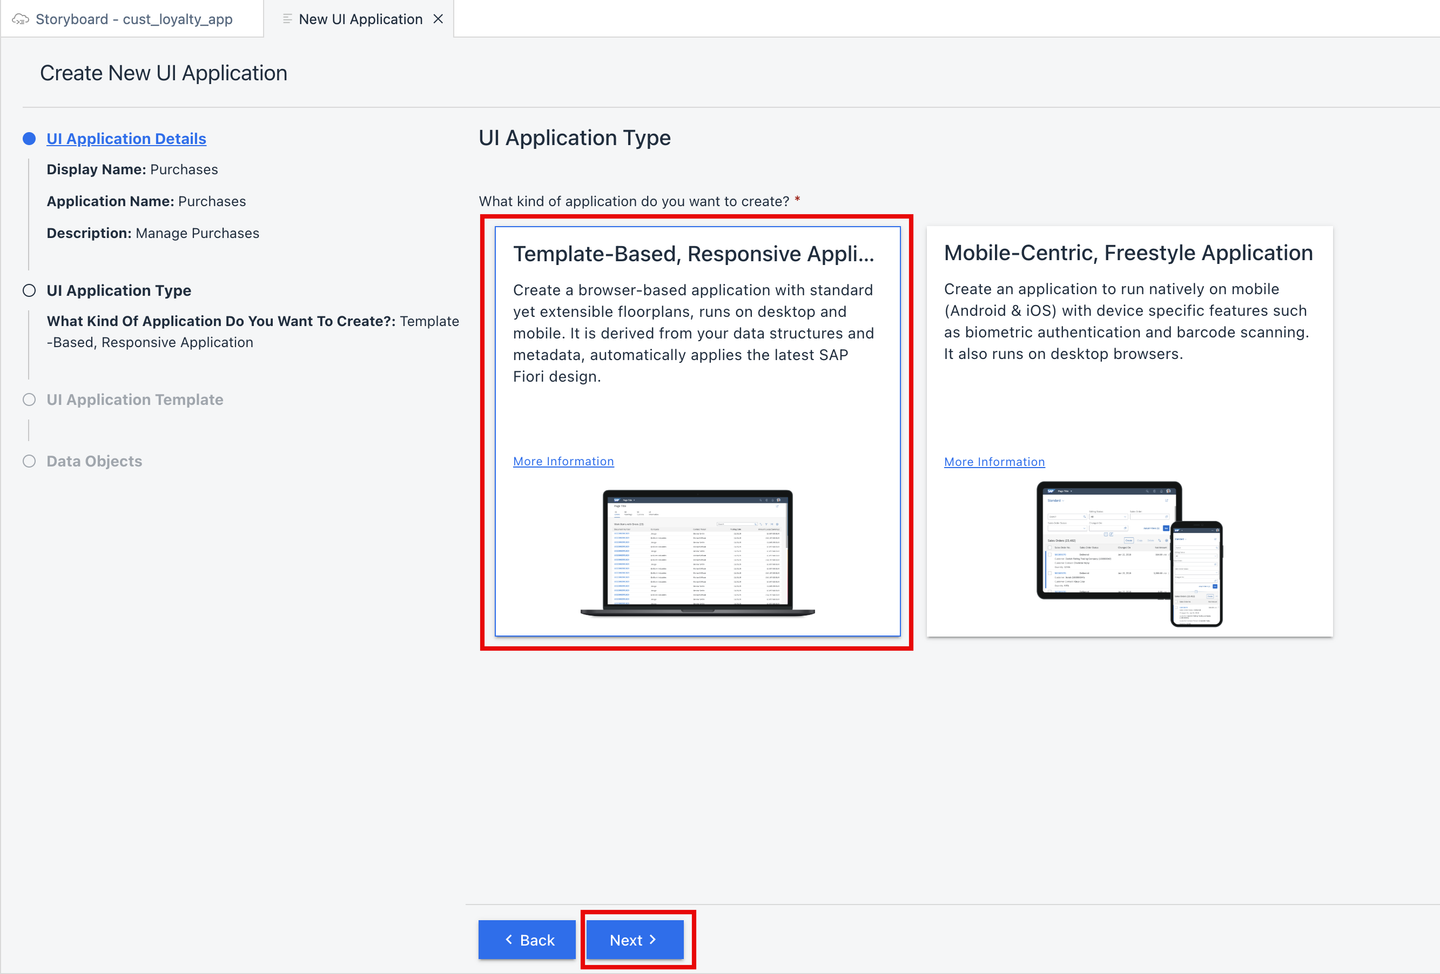
We are using the browser, so we will select Template-Based Responsive Application as the UI Application type, and click Next.
template based app
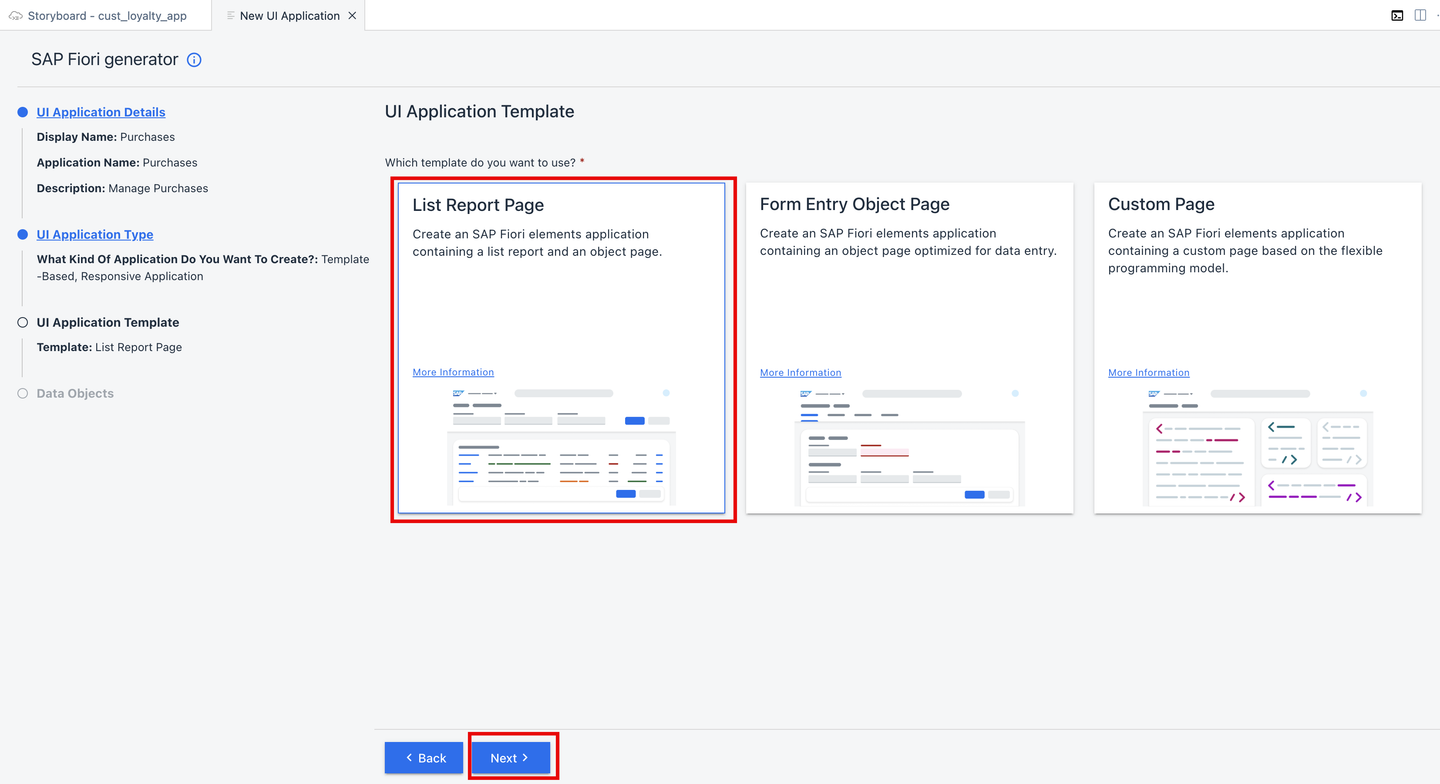
Select List Report Page as the UI application template, and click Next.
template
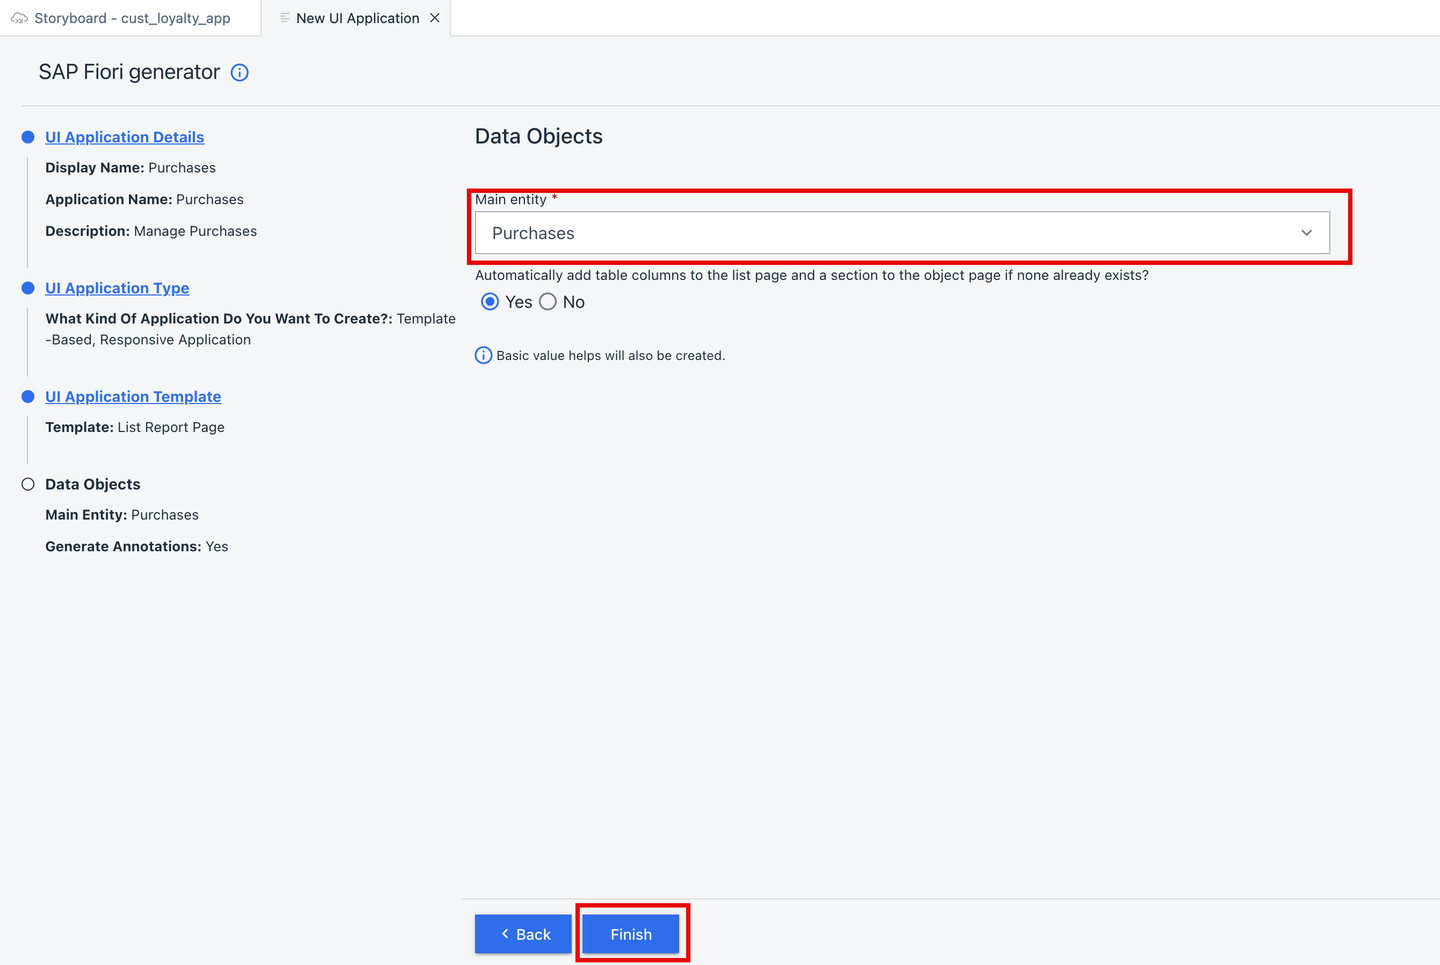
Select Purchases as the Main entity, and click Finish. The page will be created now.
data objects
It may take a few moments for the UI to be created because the dependencies need to be installed.
Once the UI is created, the Page Map opens providing options for further editing the UI.
Repeat steps 1 through 5 to create additional UI apps for the Customers and the Redemptions entities.
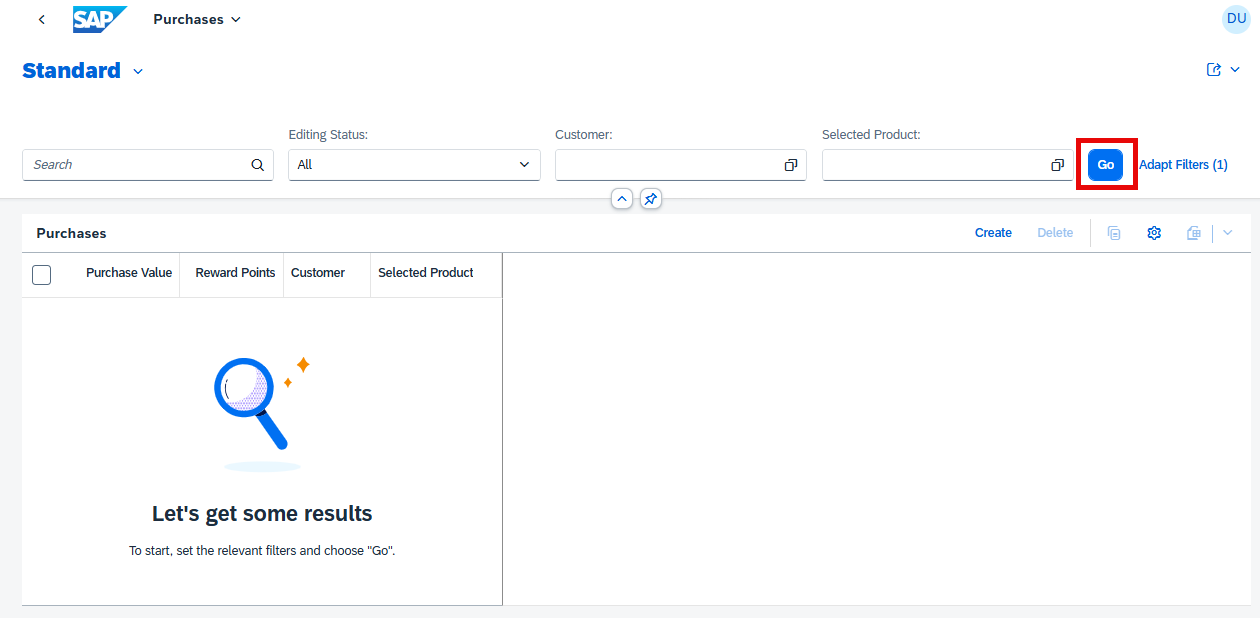
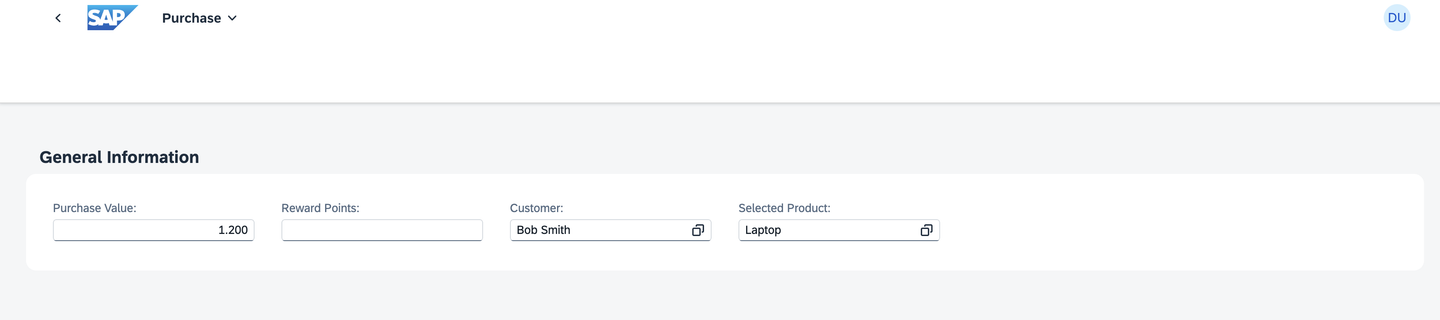
Provide values for the Purchase Value, Customer, and Selected Product fields.
enter values
Note: Joule may generate different code when presented with the same prompt. For example, you might see a customer represented as a number in the preview.
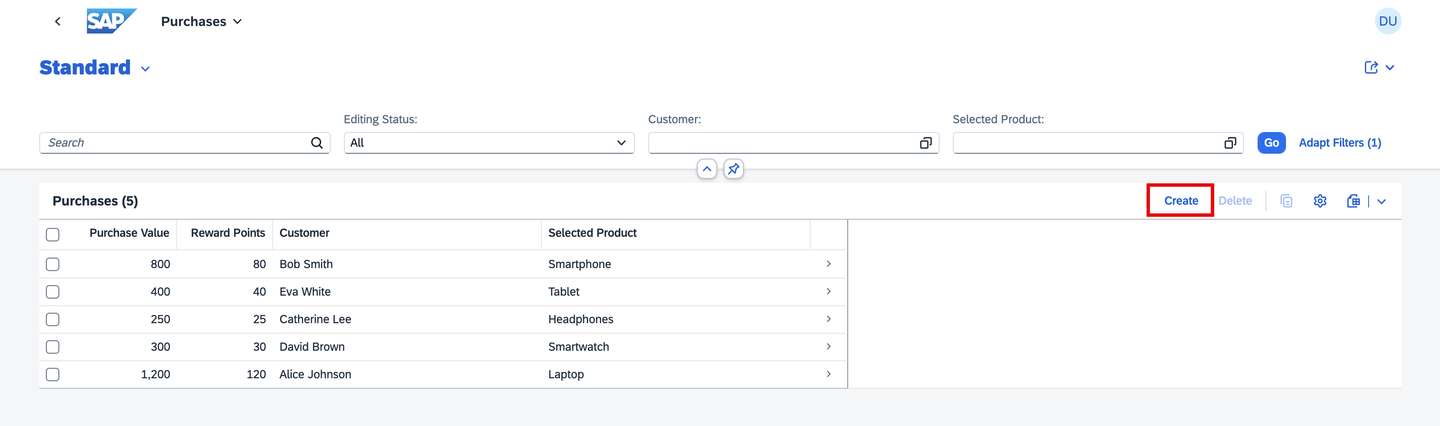
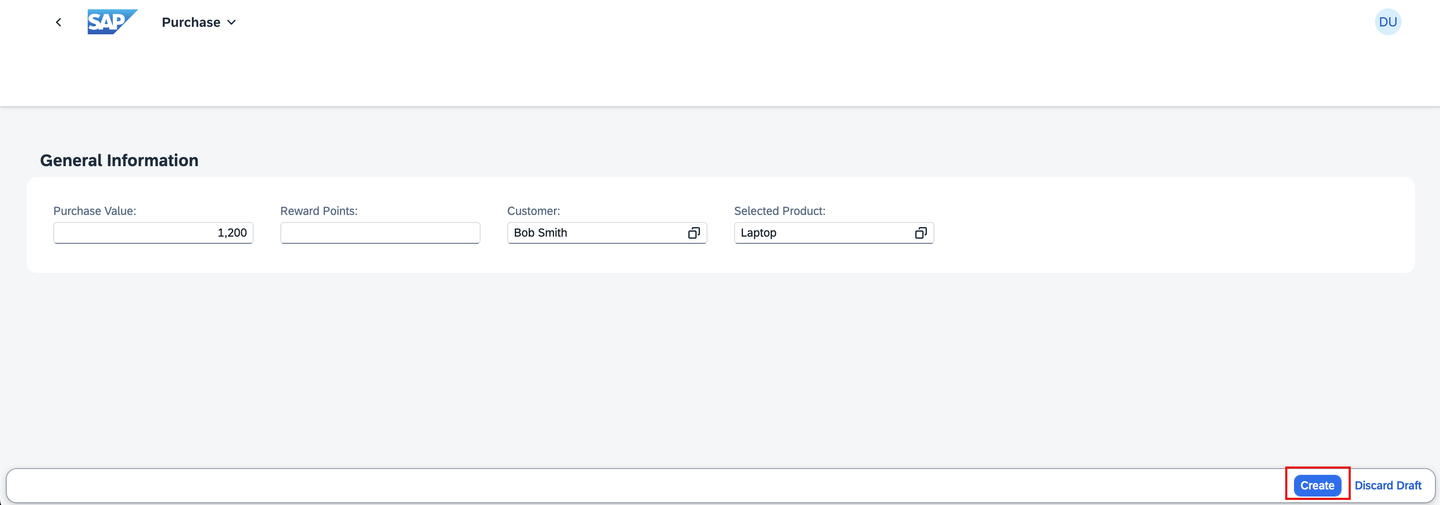
Click Create.
create purchase
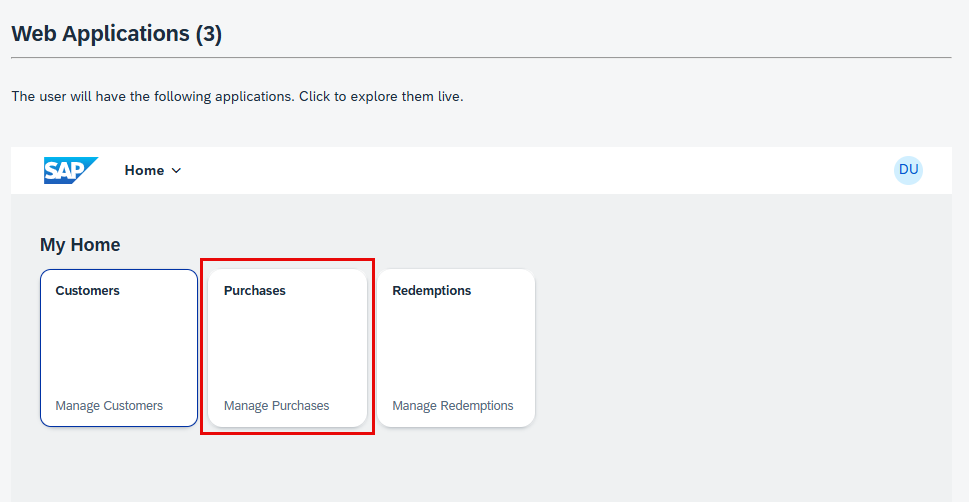
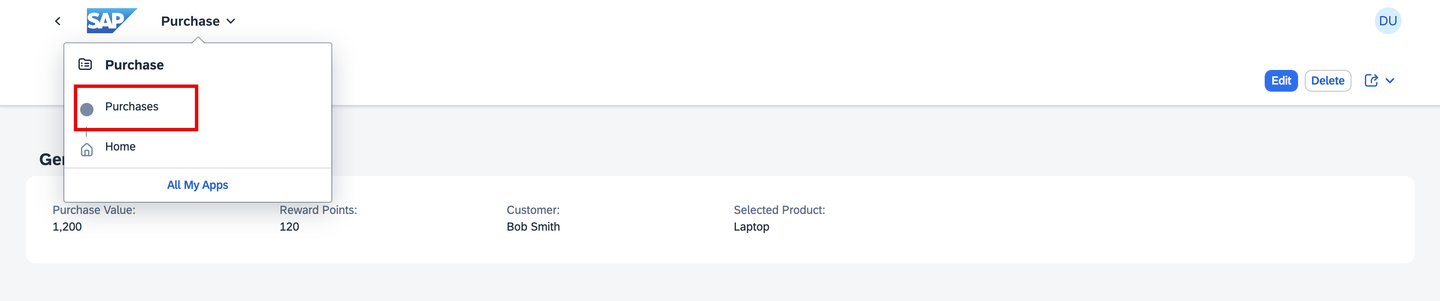
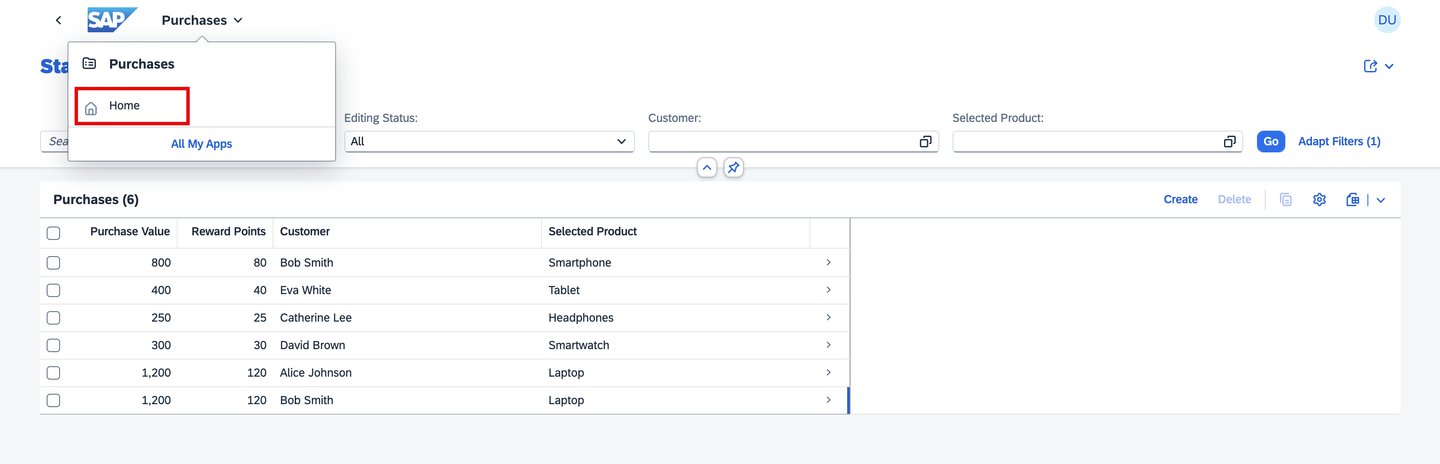
From the dropdown list at the top of the page, select Purchases.
create purchase
You can see the added line in the list of purchases, Because of the logic you added, the Reward Points are automatically added based on the purchase value.
list purchase
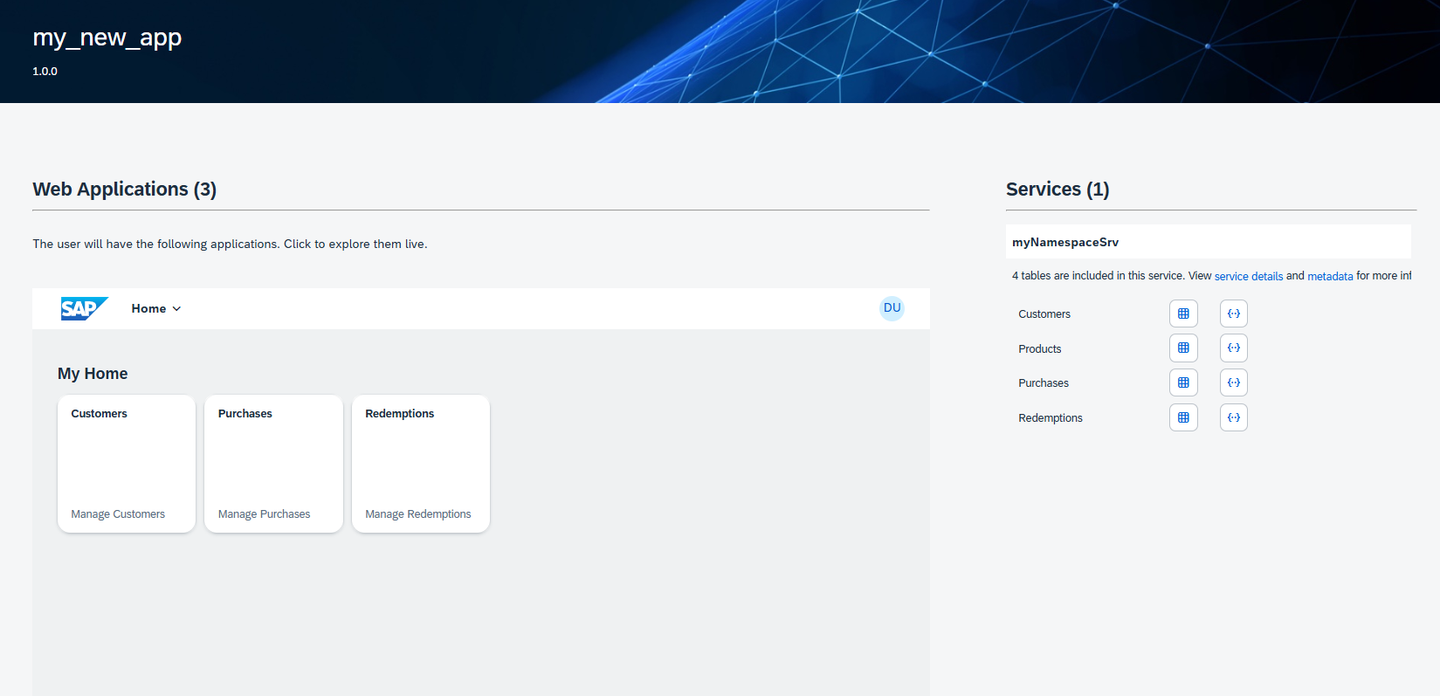
From the dropdown list at the top of the page, select Home to go back and preview the other applications.
Share feedback on this tutorial or join the conversation in SAP Community.
Submit detailed feedbackDiscuss in Community
Steps
Step 1 of 3
1. Create a multi-step CAP application2. Add UI to the Application3. Preview the application (Optional)
Joule
AI Notice
Joule is an AI assistant. Generative AI may produce inaccurate, incomplete, or biased information. Always verify important details before acting on them.
Conversations are sent to SAP-hosted large language models for processing. Do not include personal data, credentials, or confidential information in your messages.
Joule's responses are based on the SAP tutorial catalog and may not reflect the latest product changes. For authoritative guidance, consult the linked tutorials and official SAP documentation.